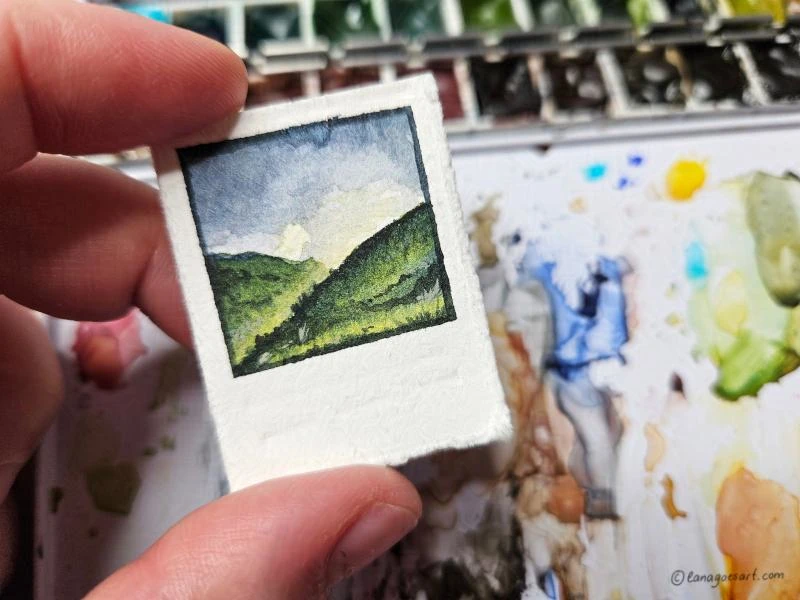
The miniature zine sketchbooks are giving disproportionally more fun in comparison to their size. And today I’ll teach you a simple way how to fold a cute tiny zine to fill yourself.
Chapters
- Choose your paper well
- What you’ll need
- Video Tutorial
- This is how you’ll fold the zine
- Are you ready to paint?
This miniature zine needs very limited supplies and you can make it at home within just a few minutes. And then spend hours of wonderfully joyful time to fill it. So far I’ve filled one with landscapes and called it the “Tiny Book of Calm Microscapes” because filling it gave me so many hours of meditation. The second one will be filled with tiny landscapes too, but has no title yet.
But I’ve also started another tiny sketchbook with memories that I’ve collected this year from journeys and encounters. You choose the theme for your sketchbook! Maybe it can be plants you find? Memories, pets or your favorite characters from games and movies? You can paint them all.
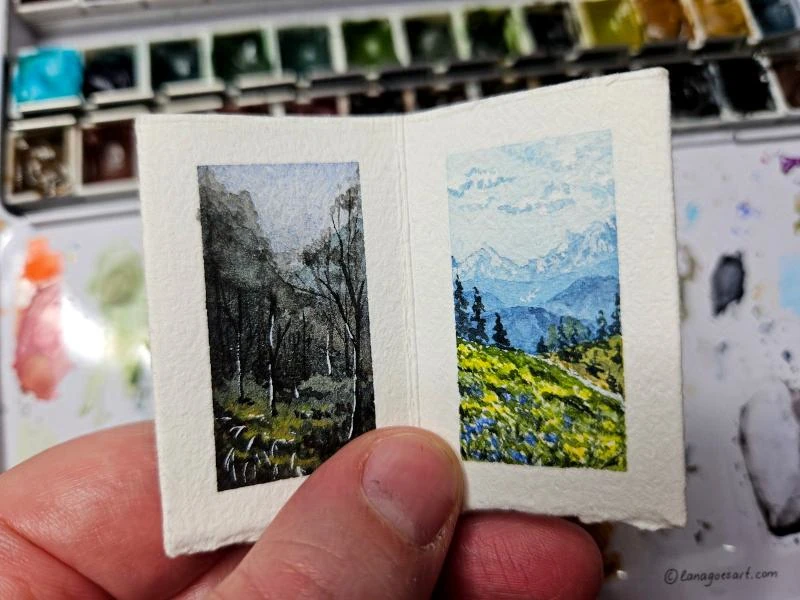
The Tiny Book of Calm Microscapes shows so many wonderful tiny landscapes and was the most fun to paint. Here you see two of them.
Choose your paper well
As I intend to paint with watercolors in my sketchbook, I’m using watercolor paper to make mine. If you want to fill yours with ink drawings or other media, maybe a different kind of paper would be better for you. You can definitely use the paper you like best to make your zine sketchbook yourself.
If you’re still looking for the perfect watercolor paper, I have a little beginners guide for papers for you here.
What you’ll need
- watercolor paper (A6)
- scissors
- bone folder
- optional: letter opener
Video Tutorial
In case you learn better from videos, I got you covered of course. Here is a video tutorial, where you can see all the steps of making the miniature zine.
This is how you’ll fold the zine
Tip: Wash your hands before handling your paper! That way the oils from your hands won't transfer to it and won't affect your future painting.
- Cut or rip your paper to size. If you want to get the same size as me, use a A6 size of paper.
- Fold the paper in half on the long side and unfold it again. Use the bone folder to crease the folds well.
- Turn it around and fold the paper in half on the short side.
- Use the open side and fold the short edges towards the middle fold you just created.
- Unfold the zine again and cut the middle fold on the long side 3/4ths in. Leave one section still attached.
- Now just fold the zine with all the folds you’ve just created. It’s ready for painting!
You can see all the folds in the image.
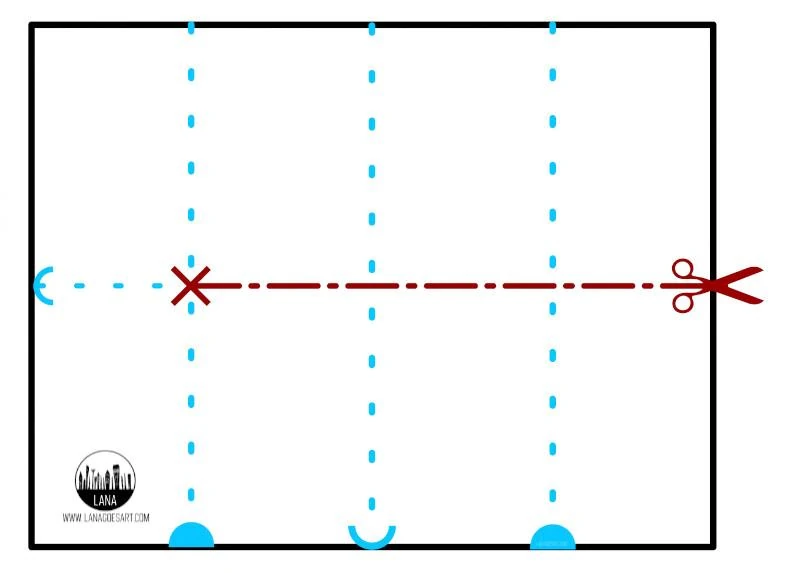
Follow this guide to create your own little mini zine sketchbook!
Are you ready to paint?
With the tiny zine sketchbook all ready and done, you can start to paint right away! In the back you’ll even have 2 pages in landscape format, which allow for more fun experiments.
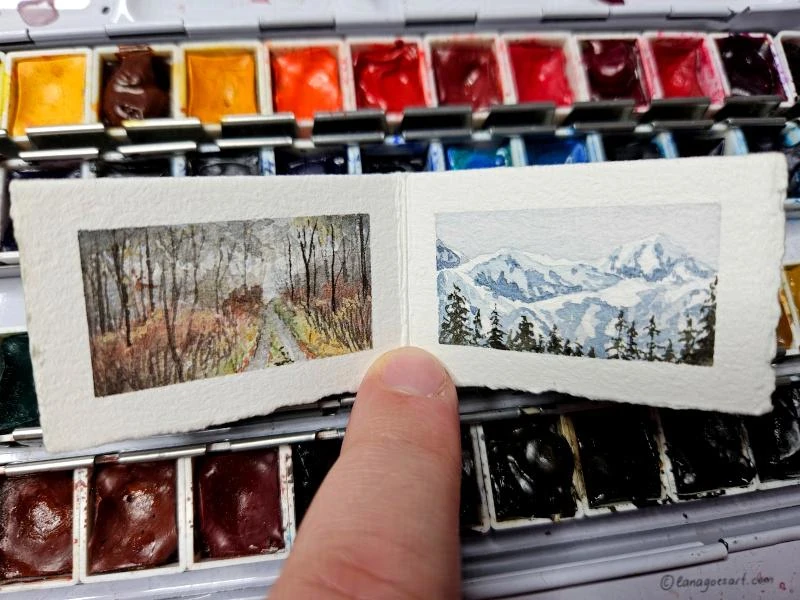
The two secret horizontal pages allowed a slightly different kind of experience when painting.
Maybe you can find inspiration in the tutorials? Or just think of whatever inspires you and gives you the most joy.

