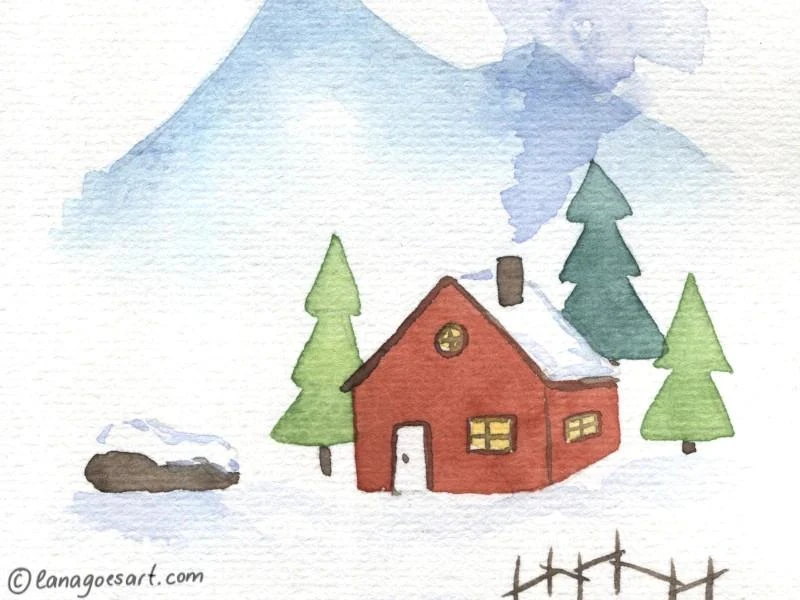
Let’s paint this wonderful little winter scene together, that totally works as a Christmas card too!
Chapters
- Supplies You’ll Need
- Preparations For The Painting
- Step 1: Let’s Draw
- Step 2: Mountains First
- Step 3: Paint The Little House
- Step 4: Green For The Trees
- Step 5: Time For First Details
- Step 6: Paint The Last Tree Now
- Step 7: Let’s Add First Details To The Hut
- Step 8: Light Up The Windows
- Step 9: Paint The Snow
- Step 10: Tricky Smoke And Snow Shadows
- Step 11: Final Details
- Ready For Christmas!
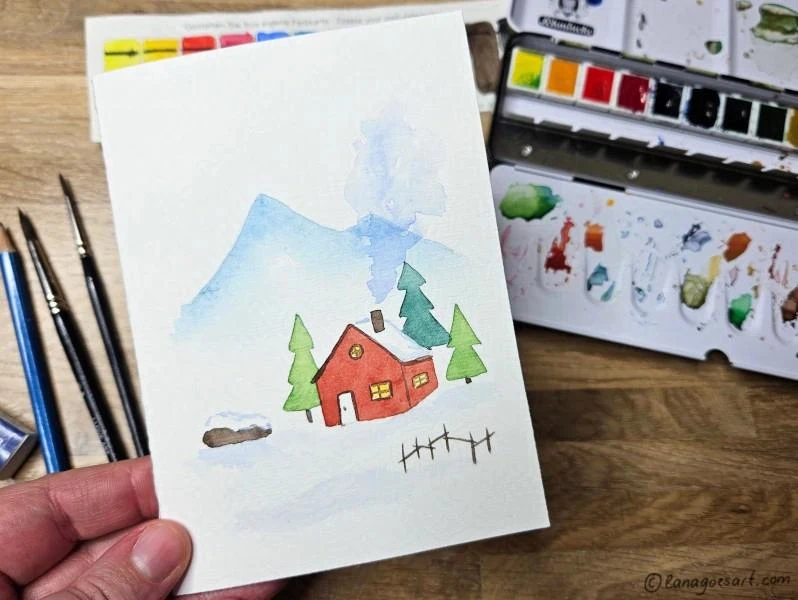
You can paint the cute landscape directly on a folded card base made from watercolor paper to send it out as your card!
Supplies You’ll Need
- watercolor paper (300gsm), cut to 22x15cm to fold in half or any size you want to paint on
- pencil and eraser
- some round brushes sizes 2, 4 and 6 (or similar)
- watercolors (Schmincke Akademie, but others work too!)
- water and a paper towel to dab your brush on
Affiliate links to Amazon were used where possible to help support the site and database. I will receive a small commission when these are used for purchases at no extra cost to you. Thank you!
If you’re unsure which paper to choose, I’d suggest to read the post about how to choose the right watercolor paper first.
Preparations For The Painting
Before you start to paint, it’s best to make yourself cozy and get all the supplies you need. Cut your paper to size. If you want to make it into a card, fold the paper in half for a card base, which you can directly paint on. Get some tea. Get clean water to paint with. And we can start!
If you prefer to paint with a video tutorial, you can find it on YouTube!
Step 1: Let’s Draw
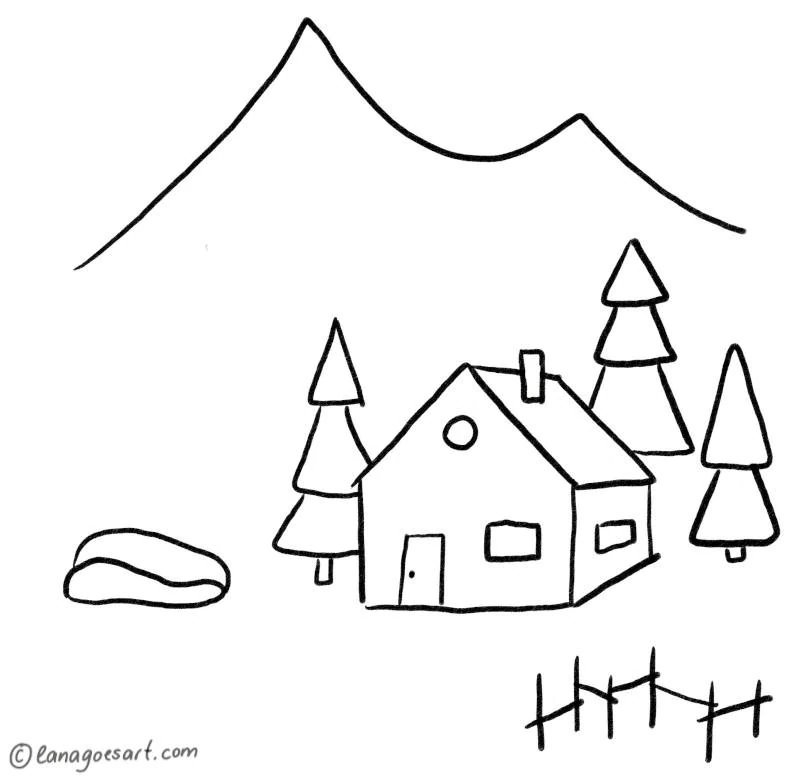
Use this lineart as a guide to draw your landscape.
The lineart for this illustration is very simple and you can draw it easily in the middle of your paper. Use the pencil lightly and don’t press on it too much.
Don’t worry if your lines don’t come out perfectly straight, it’s ok and will give your painting some character and make it special.
Before you start to paint, erase the lines slightly. They need to be light, so they’ll become invisible when you paint, but stay visible for you to serve as guides.
Step 2: Mountains First
Dilute Phthalo Blue (Cyan) to a watery consistency and draw a line along the mountain top. Wash out the brush and use it to soften the lover border. If you need, repeat the step until the blue fades into the white of the paper perfectly.
Let the painting dry for a few minutes, so the next layers won’t bleed into each other.
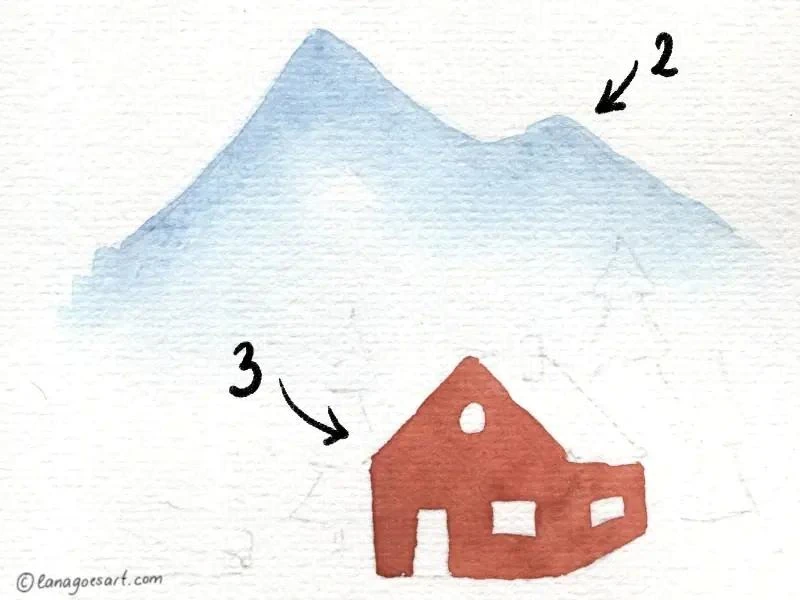
Here you can see step 2 and 3 of the painting process.
Step 3: Paint The Little House
Make sure the paper is dry to avoid bleeding.
Mix Cadmium Red Hue (or any warm red on your palette) with Burnt Sienna (or English Red) for a cozy Scandinavian red and color in the house. Avoid the windows and the door, so they can be painted in a different color later on.
Step 4: Green For The Trees
Mix Phthalo Blue and Lemon Yellow into a dark green, close to turquoise, and fill the tree in the back. Add a little more yellow to the mix and fill the tree next to the house. Make sure that your house is dry, so the colors don’t bleed.
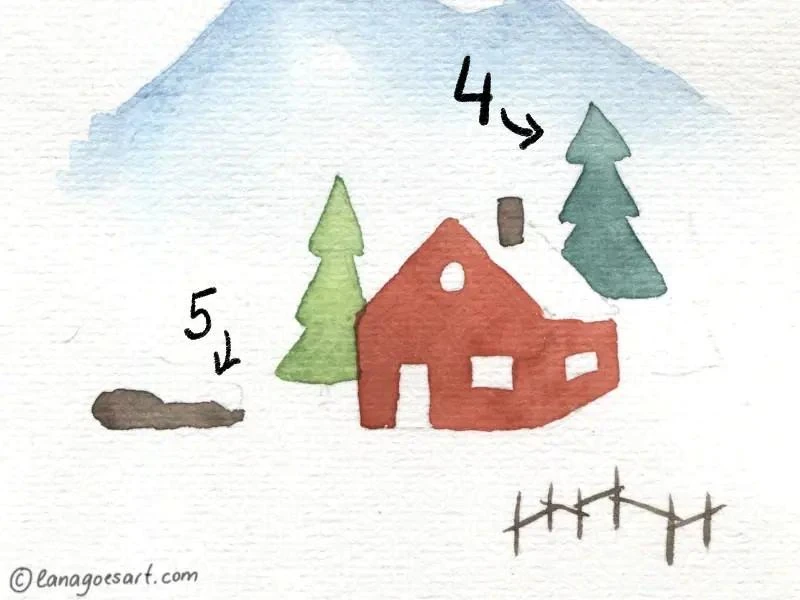
Steps 4 and 5 of the tutorial.
Step 5: Time For First Details
It’s always helpful to switch places you paint on to avoid bleeding and let areas a few minutes to dry before painting right next to wet paint.
For the first brown details, you can rewet some Burnt Umber and paint them using a small brush.
Tip: To paint the finer details, use the very tip of the brush holding it almost vertical and apply no pressure on the brush.
Step 6: Paint The Last Tree Now
While you painted the other areas and details, the trees had time to dry. So now they won’t bleed when you fill in the third tree on the right side. Rewet your light green mix from before and fill it!
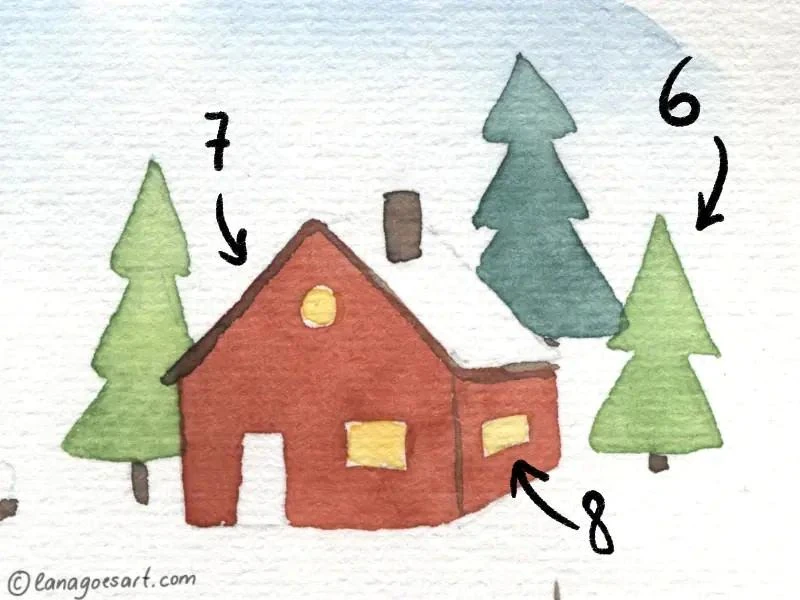
Steps 6, 7 and 8 of the painting tutorial.
Step 7: Let’s Add First Details To The Hut
With the same Burnt Umber as before draw a line along the bottom side of the roof and along the right side of the front wall.
While you’re at it, add little tree trunks to the trees too.
Step 8: Light Up The Windows
Use some warm yellow from your palette to fill in the windows. It’ll look like they’re light up from inside the hut.
Step 9: Paint The Snow
To hint at the snow on the logs and the roof, it’s best to paint them very lightly. You can do that by mixing Ultramarine, which is a warm blue, to a watery consistency and then paint lines on the top of your snowy area. Like the top of the pile of logs and the top of the roof.
You can add light Ultramarine shadows on the snow in light lines on the lower edges of the areas.
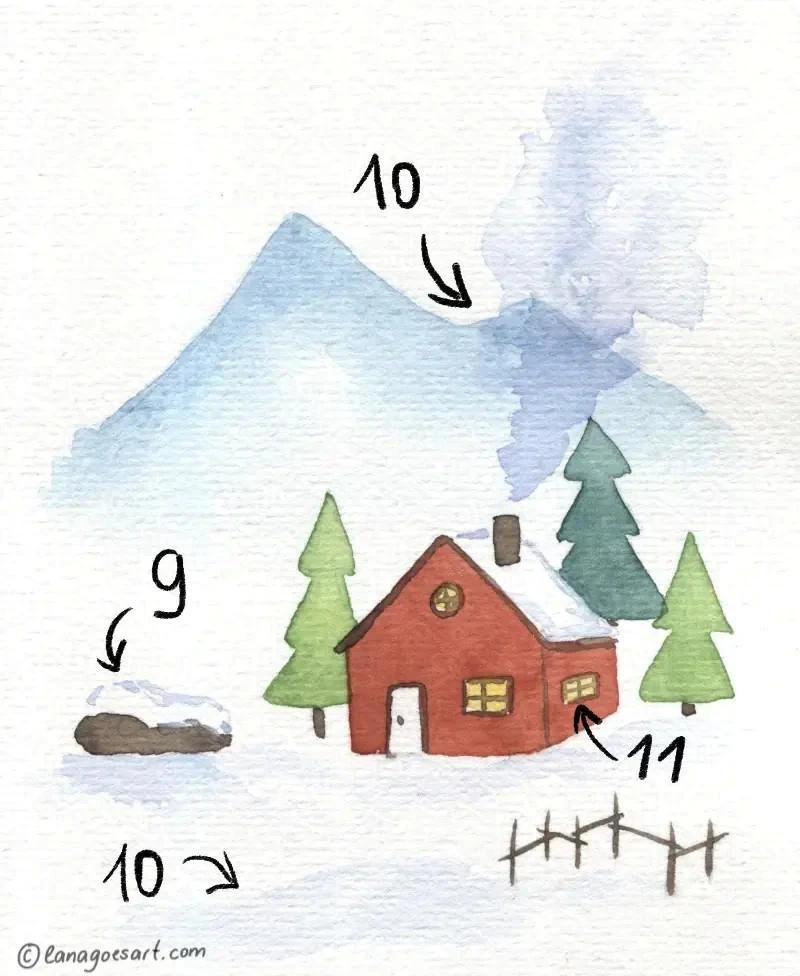
Steps 9, 10 and 11 of the tutorial.
Step 10: Tricky Smoke And Snow Shadows
This step is a bit tricky as it’s not as straight forward as before. You’ll paint it with the same watery mix of Ultramarine as before.
Hold your brush angled at about 35° or less and pull it sideways for the light blue areas on the ground.
For the smoke out of the chimney start directly over the chimney and with the tip first. Lower then the angle and paint the smoke in spiraling movements that go from narrow to wider. Pick up more paint if the brush becomes too dry and water for the top areas, so the smoke fades out thinly and looks more natural.
It’s ok when there’s some variation to it too!
Step 11: Final Details
As you can see, the hut itself needs a few more details, right? So it’s nice and cozy and inviting for the holidays.
Using Burnt Umber again, paint window frames with a cross in the middle of the windows and a door frame with a dot as a door knob. Leave the door itself white for more contrast.
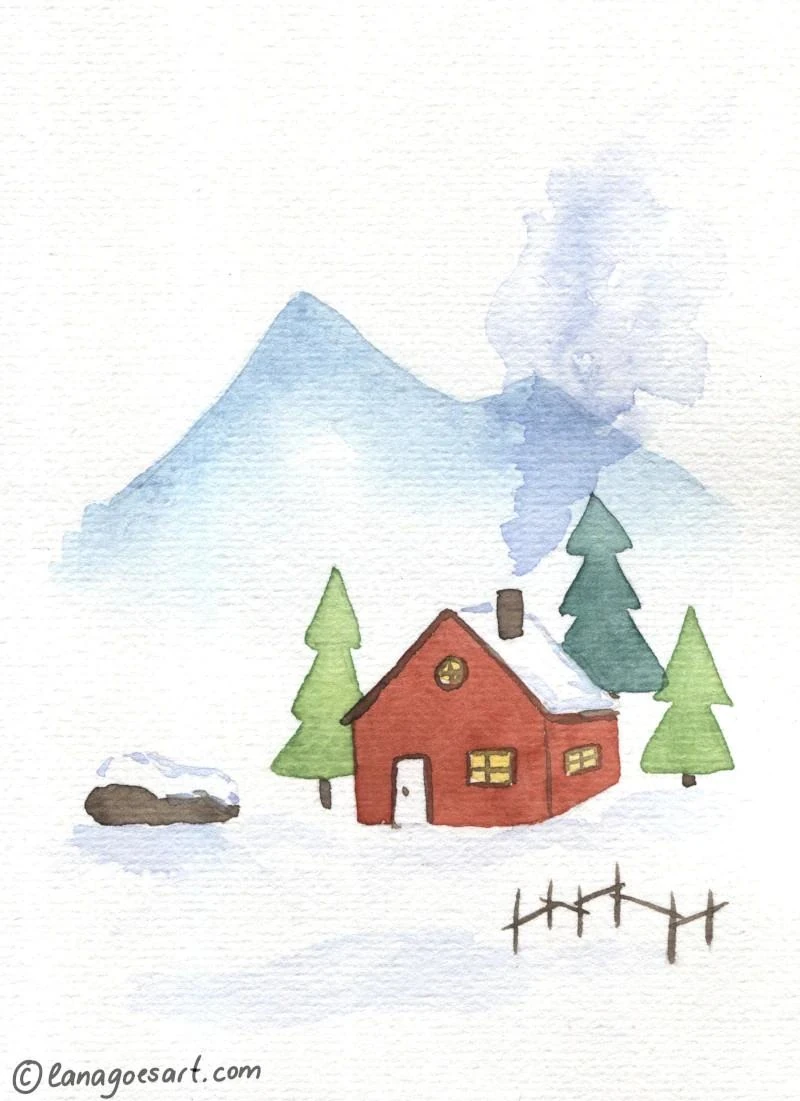
The final result! The cute winter landscape in watercolor is done now.
Ready For Christmas!
I hope you had fun painting with me and enjoyed this little tutorial.
As you can see, no matter your skill level, everyone can paint along and I’m sure you did super well!
I’d be thrilled if you shared your results with me on Mastodon or Discord, feel free to tag me in your creations or ask if you feel stuck in one of the steps.
I plan more tutorials and classes in the future and your feedback is very valuable to me.
Wish you all a Merry Christmas and a cozy winter time!
Lana


