
Of course bunnies belong to Easter and that’s why we can paint them together - using just one color. Painting monochromatic will also give you a sense for colors and their values in watercolors.
Chapters
- What you need
- 1. The drawing
- 2. Fill in the background
- 3. Shape the bunnies using light shadows
- 4. Deepen the shadows
- 5. Adjust the darkness of the background
- 6. Deepen the shadows further - carefully
- 7. Last details
Painting monochromatic doesn’t only give you a sense of the color you use, but also a perspective on the painting itself and the values within it. When using a range of colors, values can be a bit tricky to see, which makes paintings look flat when they’re missing. So you end up asking yourself, what is missing exactly without being able to pinpoint that. It’s something I’ve encountered a lot. In monochromatic paintings, it’s exactly what you practice to see and paint. Using one color and similar values won’t work and will look boring. Everything will become indistinguishable. You need to leave highlights and set dark shadows to enhance what you want to show in your piece.
Painting with one color in watercolors also adds the difficulty of the medium - to preserve the white of the paper and building values slowly using several techniques. You will need to think ahead for this one.
What you need
- pencil and eraser
- watercolor paper (ideally 100% cotton, 300 gsm)
- round brushes with a sharp tip (various sizes)
- one dark color (Indigo, Sepia, Black or effect colors like Moonglow, Shadow Violet, Shadow Grey etc)
- one little dish, plate or space to mix color
- eventually masking tape or washi tape for clean borders
If you have doubts when choosing your supplies, this article about what you really need to paint with watercolors might be helpful for you. But maybe you also need help to choose paper, so here you go.
Video Tutorial
Enjoy also the video tutorial in real time. It was recorded during a stream on twitch.tv and shows every step in detail with detailed explanations of techniques used.
1. The drawing
This is the reference photo, that I chose for the tutorial.
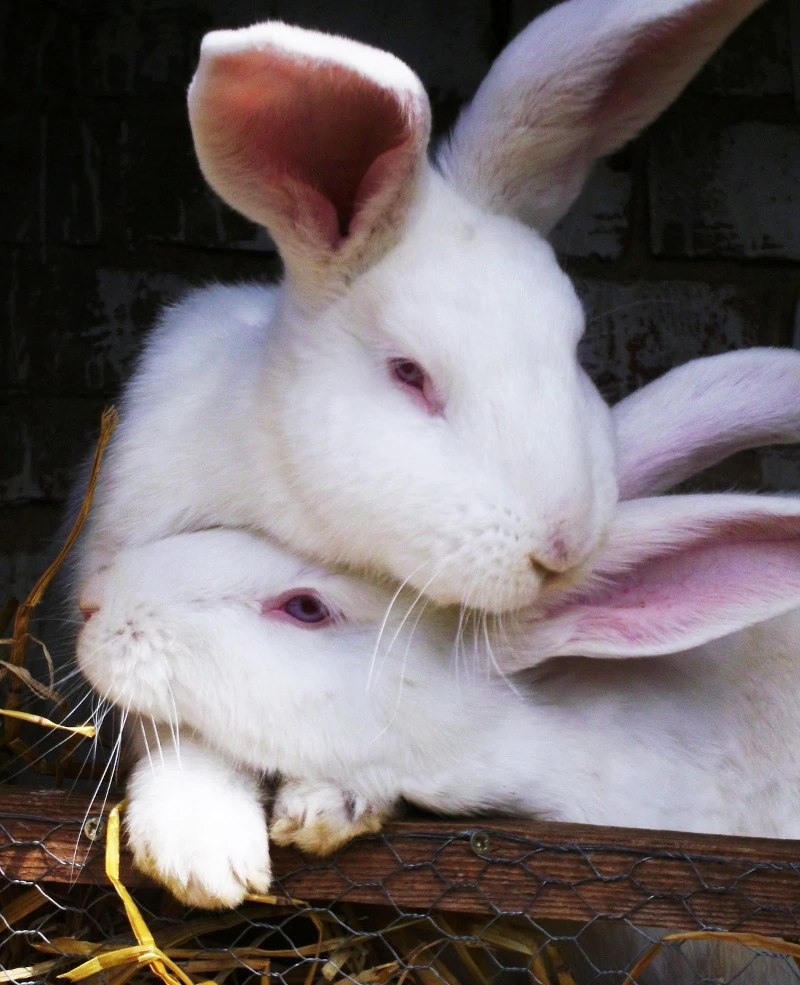
Photo from pixabay.com/Catjusha
The sketch looks like this:
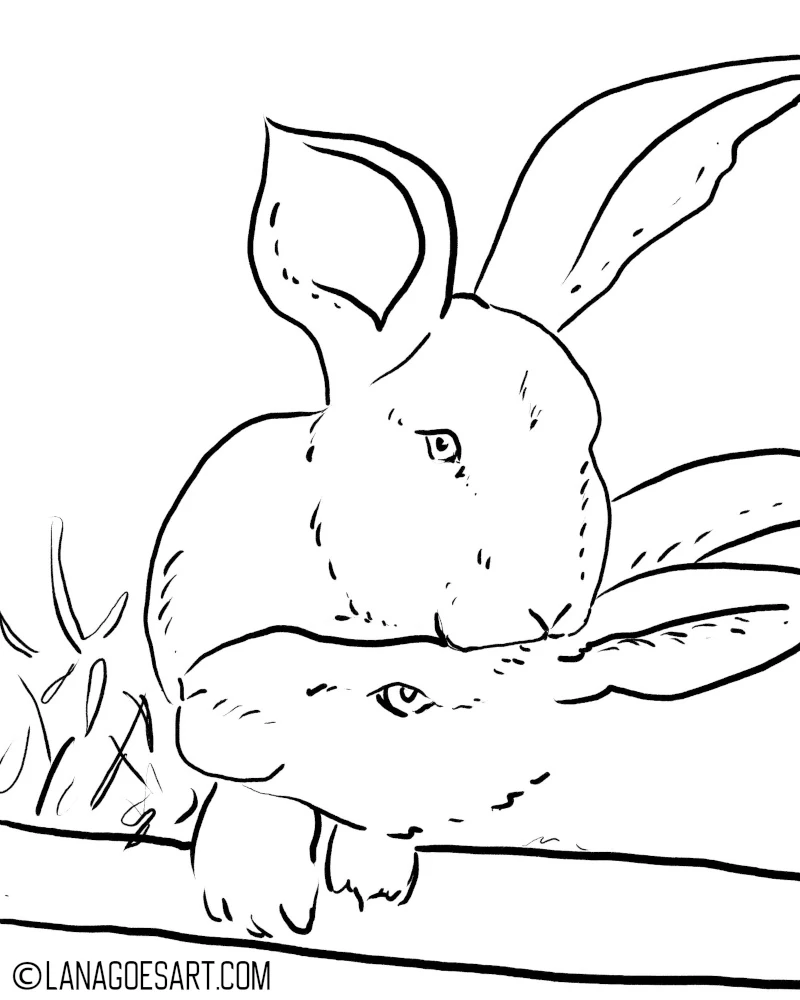
Feel free to use this to trace the image or transfer it onto your paper. Use the technique you are most comfortable with.
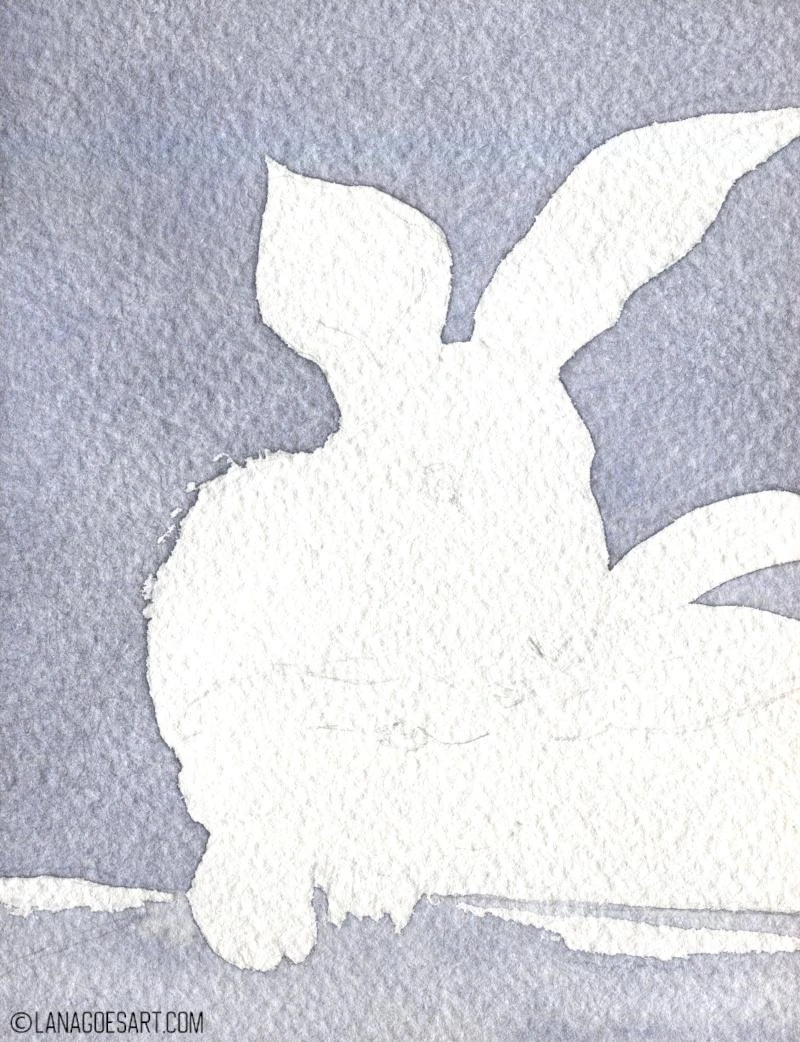
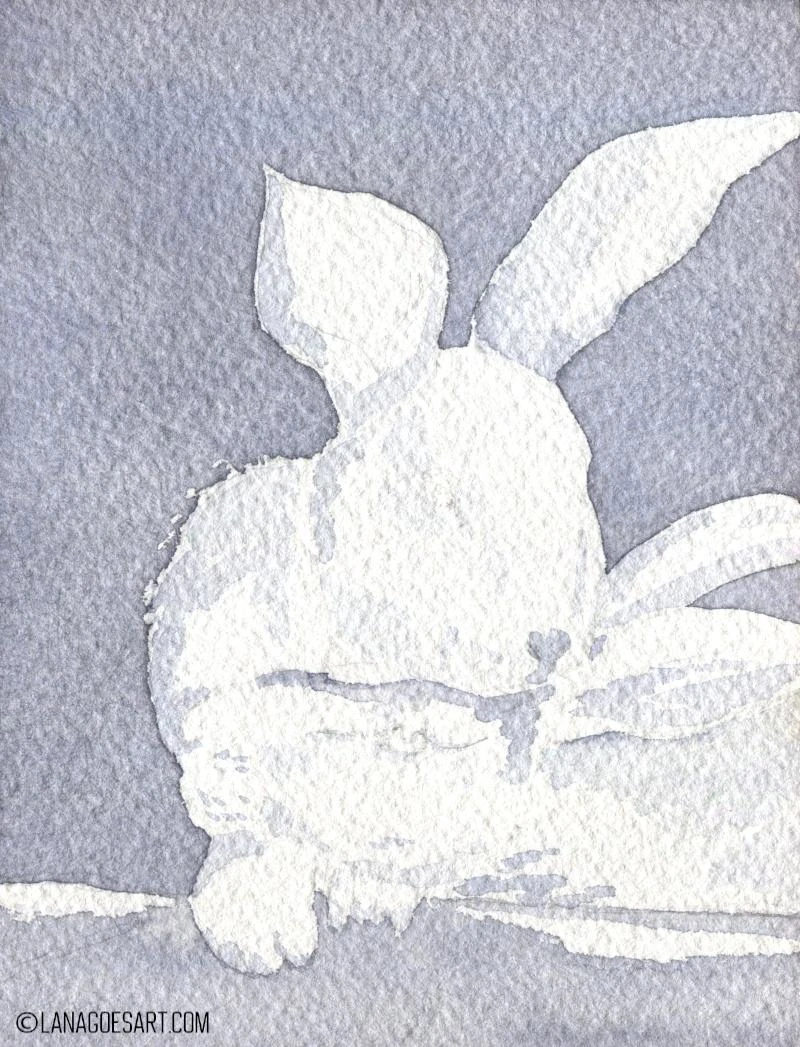
2. Fill in the background
Fill in the background with a middle tone of the color you chose. Mix it with water on the palette first. The middle tone will help to determine the values better later on.
3. Shape the bunnies using light shadows
Water down your mix to a very watery consistency and fill in some spaces with light shadows. They help to shape the bunnies and make them look less flat. Darker areas push to the back visually, while the white ones still look closer to the viewer.
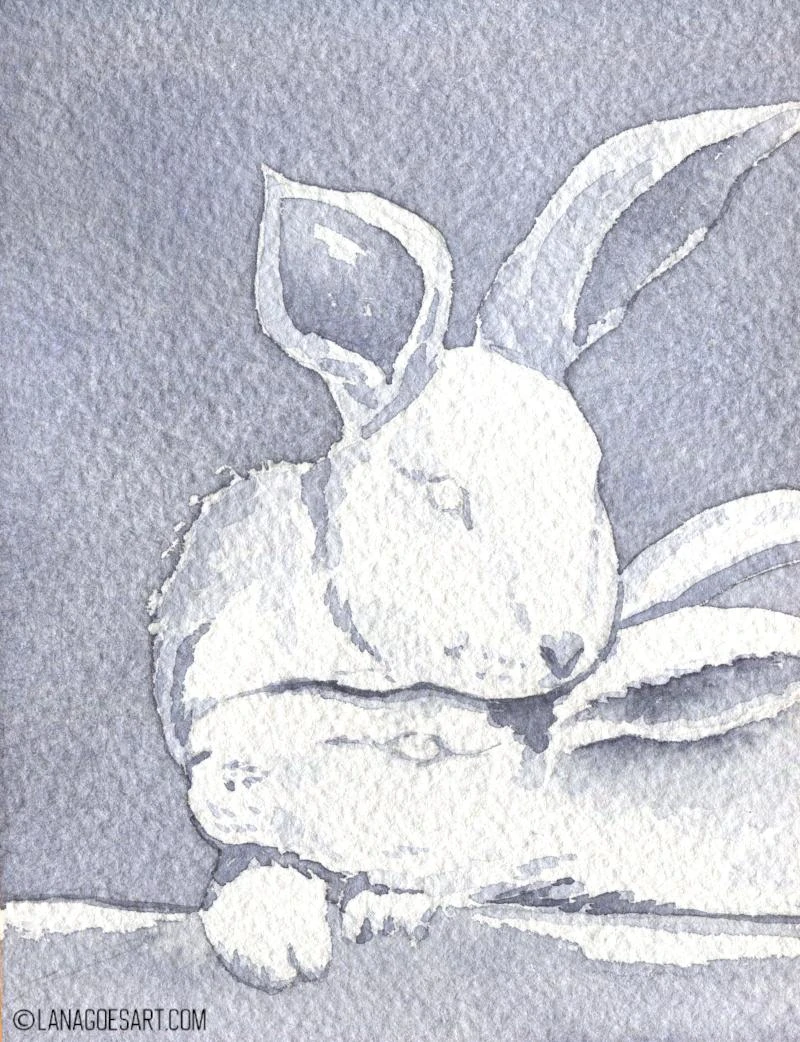
4. Deepen the shadows
While you paint, the first layers will dry already.
There you can deepen the shadows a little bit with a slightly more intense application of color. About of the darkness of the middle tone you used earlier for the background. If you accidentally touch wet paint, it will run. You can choose cleaning it up or just let it as it is. Cleaning is simple by using a corner of a paper towel to dab off some of the excess paint and moisture.
5. Adjust the darkness of the background
Finally it’s time to darken the background. Mix the color on your palette with little water and glaze over the background. Avoid painting over the bunnies and the straw left of them.
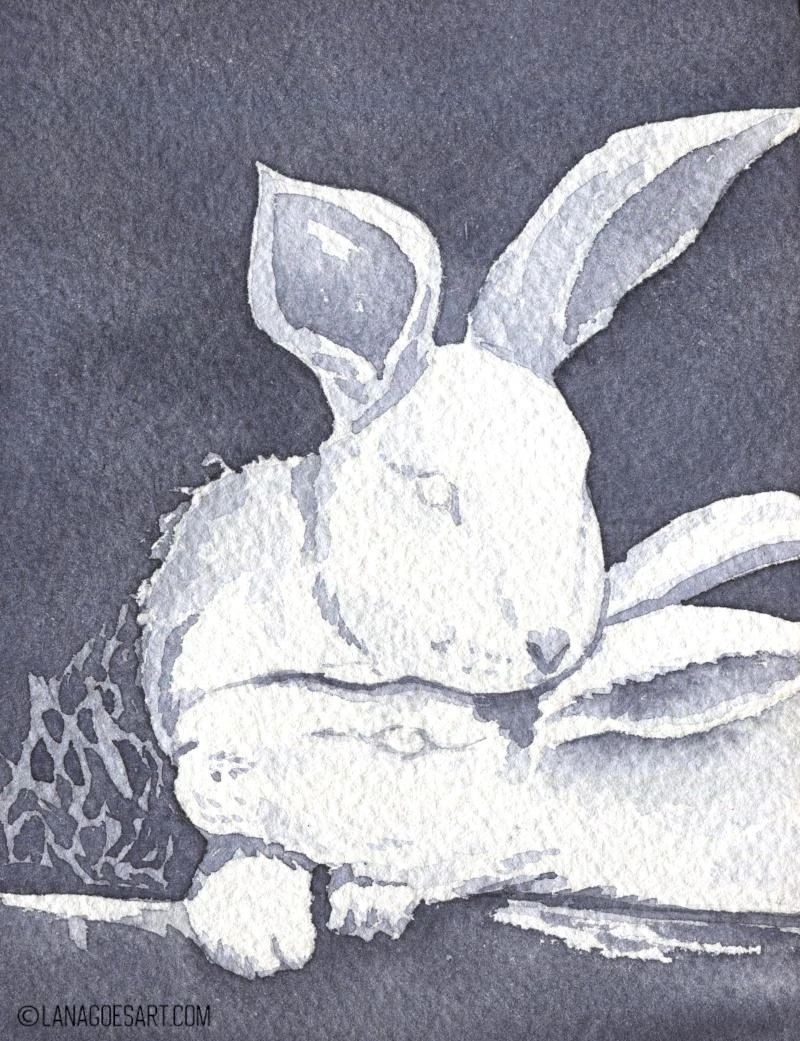
6. Deepen the shadows further - carefully
The next steps involve to deepen the shadows further, painting only the darkest places like the nose slids, inside of the ears. You can also fill in the eyes now.
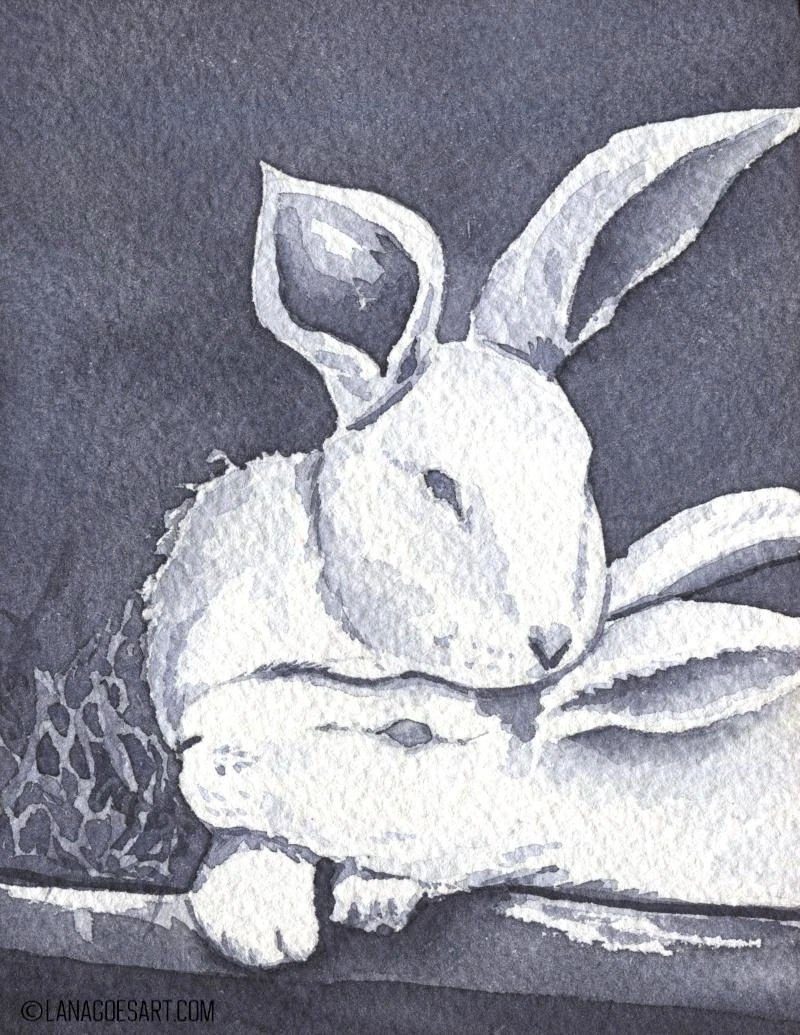
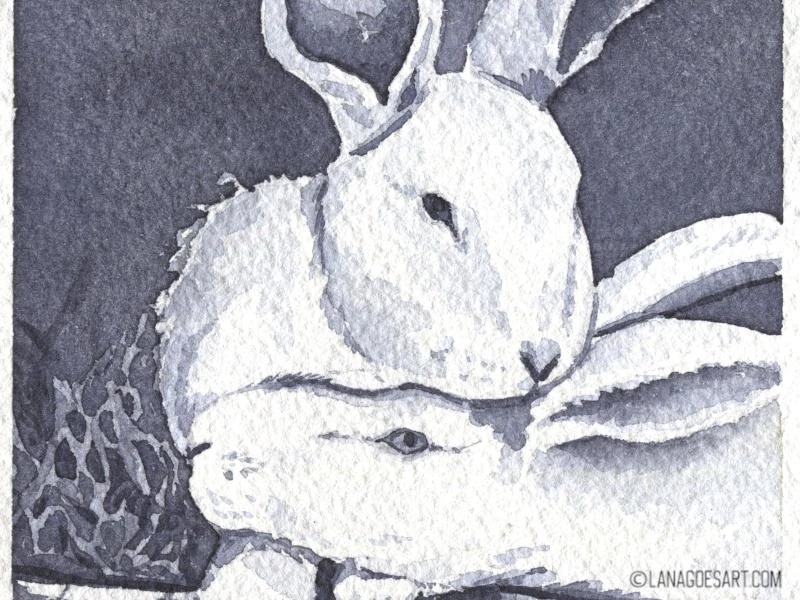
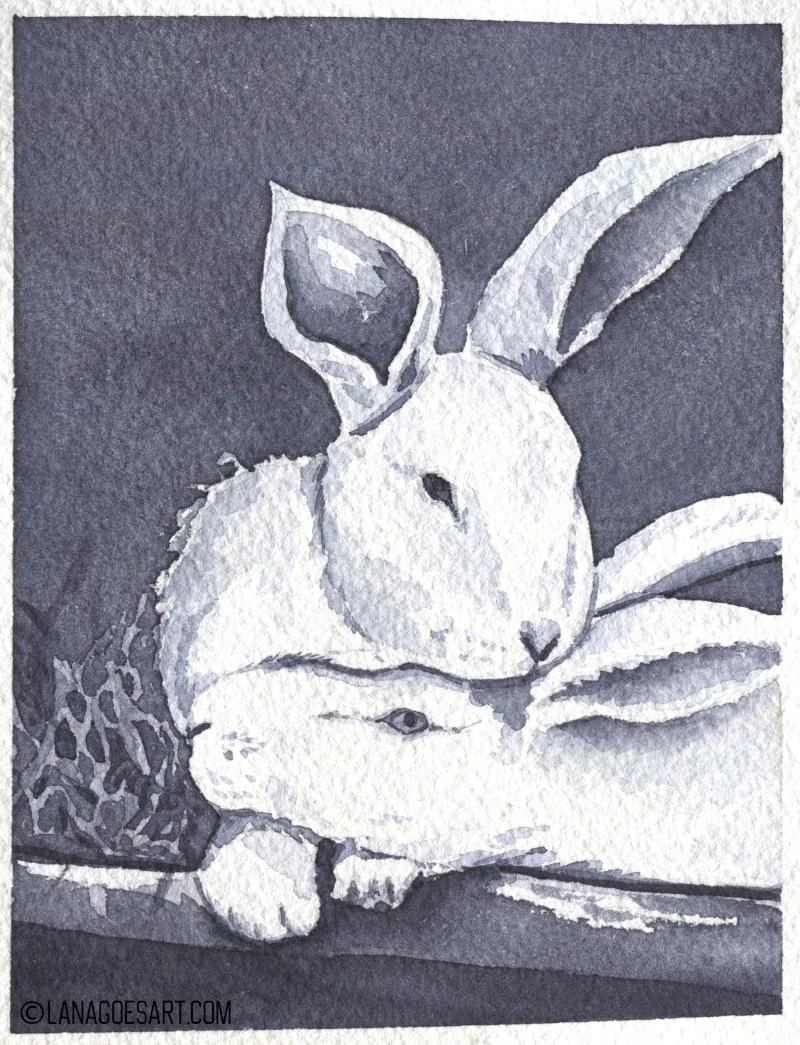
7. Last details
After the paint has dried, you can add last details. It’s important to let it dry, so you avoid bleeding. Your paint needs to be most intense in this step with little water. The last details involve only little areas like the pupils of the bunnies, the darkest spots and areas of most interest.
These are the basic techniques I use to paint all of my monochromatic paintings. I use these to experience a certain color, to see how it behaves and how it performs on its own without the support of others. It’s something I do for reviews and color studies, which you too can find on this blog. In case you are eager to practice further. Try these techniques for other subjects and to translate them yourself into monochromatic studies. It’s great practice and lots of fun - at least for me.
In case you want to support the blog, the watercolor database and me, so I can continue writing tutorials and make videos on the subject, you’re welcome to tip me on ko-fi or Patreon.
Want to paint more? There are a few more tutorials on this blog, that you can follow.
Have fun painting and I hope to see you soon!
Lana