
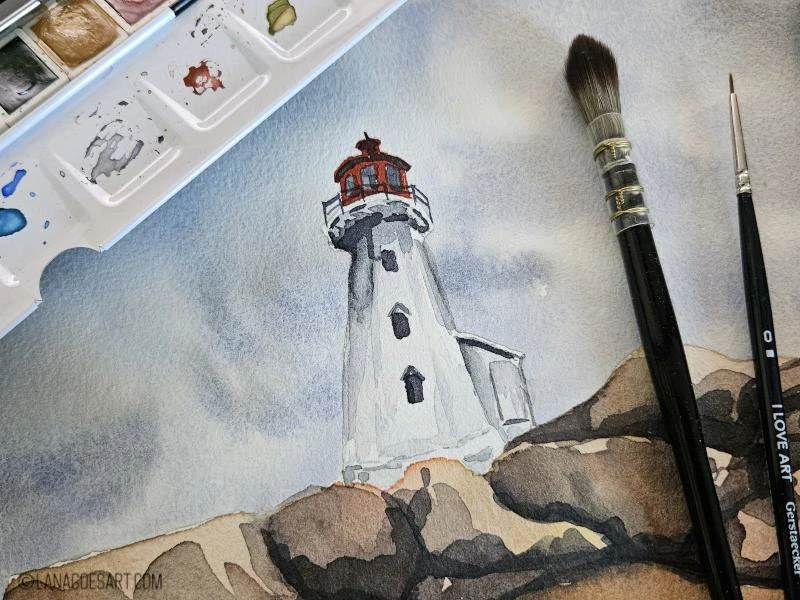
Moody skies and stone patterns can be tough to paint. In today’s tutorial we will set the focus onto those and use granulating colors to achieve a stormy atmosphere within the picture.
It’s also great practice to paint wet on wet and mixing colors on the palette and the paper as well.
Chapters
- A List of My Supplies
- Reference
- 1. Sketch
- 2. Paint the Sky
- 3. Paint the First Layer of the Rocks
- 4. Paint the First Layer of the Lighthouse
- 5. Paint the Top of the Lighthouse
- 6. Add a Second Layer to the Rocks
- 7. Add Shadows to the Lighthouse
- 8. Add Final Details
- Final Result
A List of My Supplies
- pencil and kneaded eraser
- watercolor paper (cold press, preferably 100% cotton)
- a basic set of watercolors (in my case Schmincke Akademie 12 pan set)
- various round brushes or quills (size 0, 2, 6, 10, 12 for round brushes)
- clean water, paper towel, eventually masking tape
Feel free to use whatever you have on hand!
If you need more inspiration and info on what supplies you might need to start out with watercolors or how to choose the right paper, there are a few articles on the blog you might enjoy too.
Video Tutorial
Enjoy also the real time video tutorial, which shows you every stroke of the painting and explains it all. The tutorial was recorded during a live stream on twitch.tv.
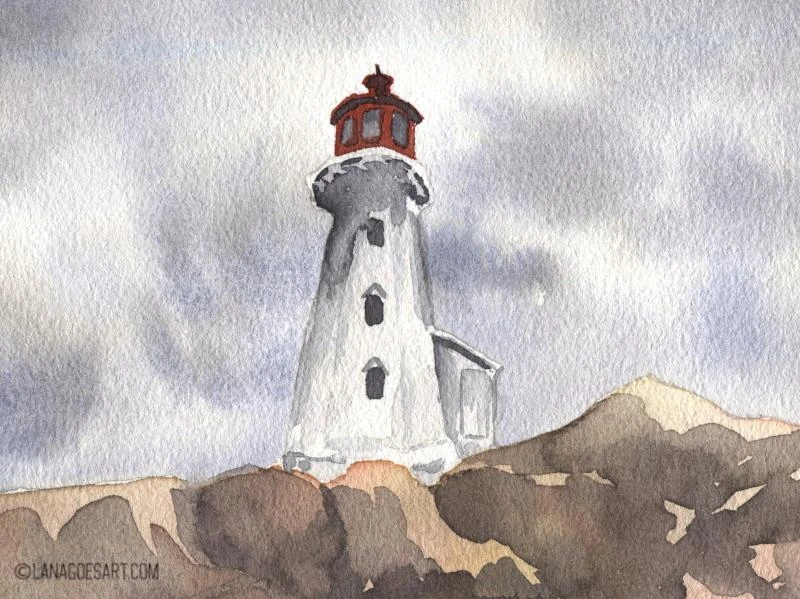
Reference
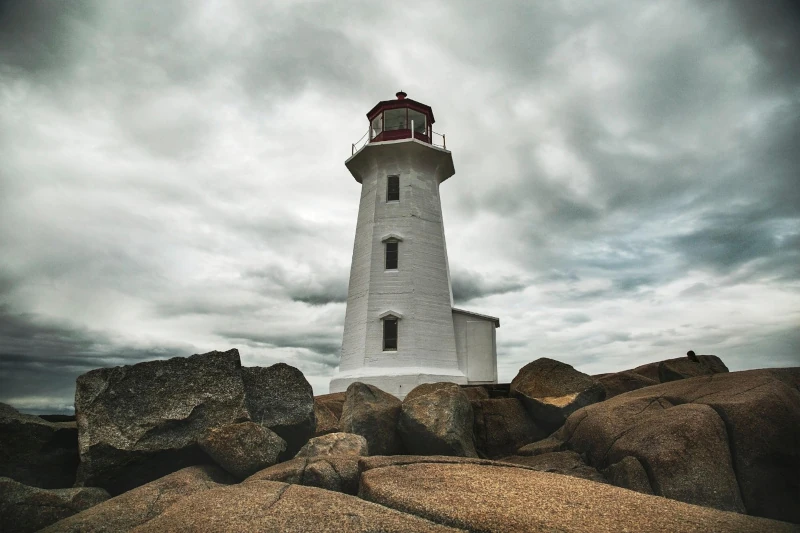
Reference from pixabay.com
For reference I used this photo of a lighthouse as I enjoyed the mood and wanted to recreate it using watercolors. Once I did I noticed it would be great for a tutorial So here we are my friends.
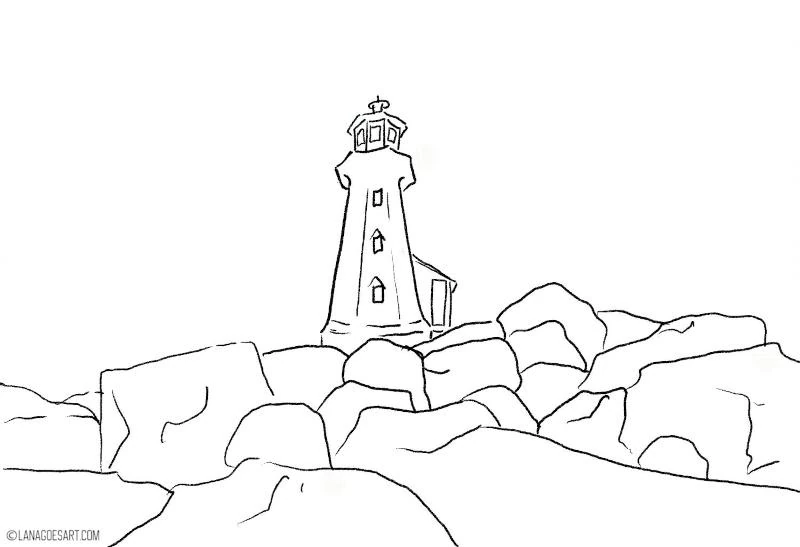
1. Sketch
Sketch the scene first using the pencil lightly with little pressure. I prepared this lineart for you to see easier how my sketch looks. Use the kneaded eraser in the end to dab away the pencil lines.
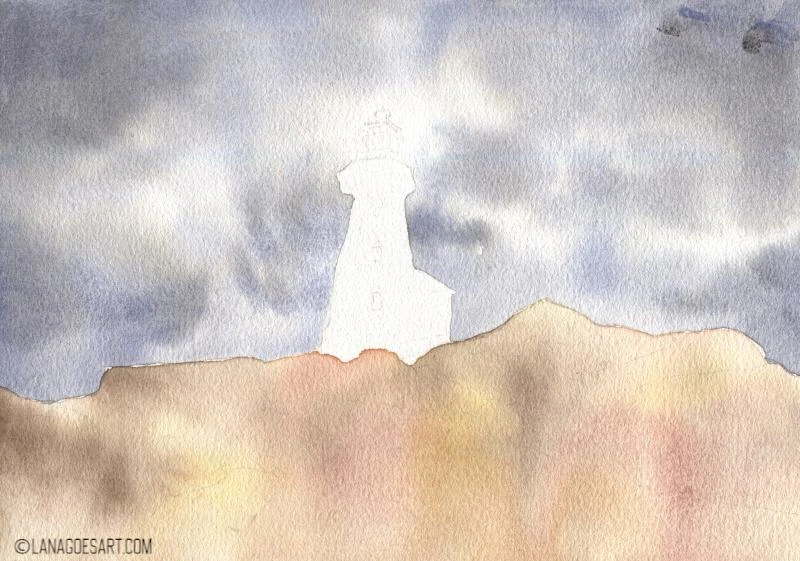
2. Paint the Sky
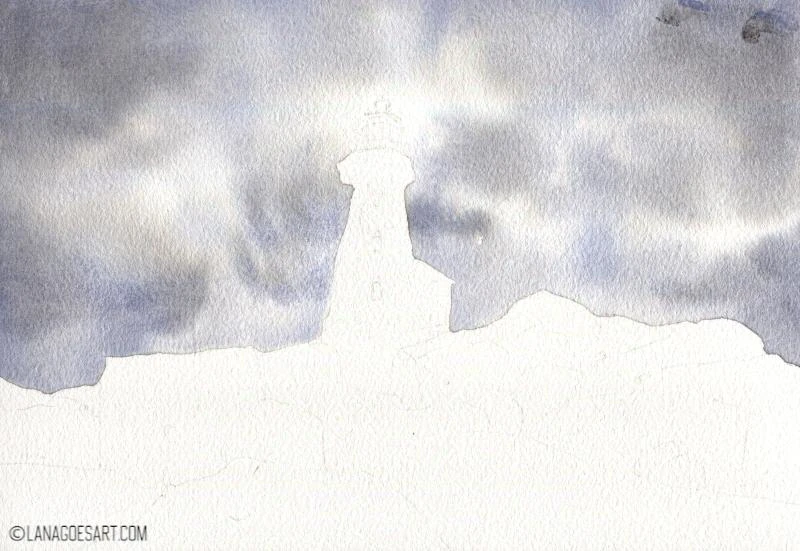
Prewet the area of your sky with clean water only and the biggest brush you have. Make sure not to apply water over the rocks or the lighthouse itself to keep a crisp line.
Mix then Ultramarine with Burnt Umber, a decent amount of it, and apply it with the big brush on the wet surface. The paint will flow a little and create soft edges. Do not cover the whole page! But dab it in the areas you want to be darkest. For me it’s in the corners, a little along the horizon line and behind the lighthouse. For a light shift into blue, add a tiny bit more Ultramarine in the mix and use it in specific places.
If you get puddles of water, soak them up carefully using a paper towel.
Let the paint dry completely before going on or do so carefully.
3. Paint the First Layer of the Rocks
Prewet the rock area and drop in Yellow Ochre, Burnt Sienna or English Red and Burnt Umber in different spots. Let the colors flow. You can set first values, which will be enhanced in the following steps.
4. Paint the First Layer of the Lighthouse
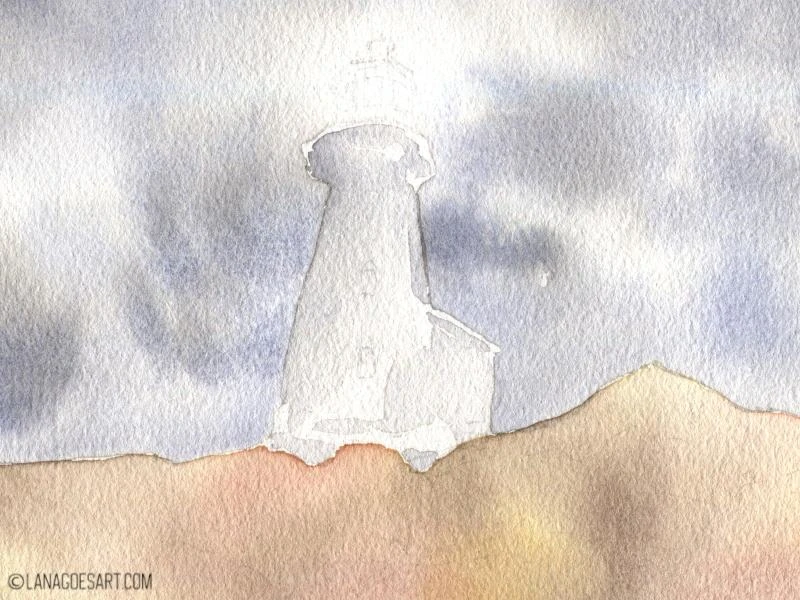
Use the same mix as the sky but add a tiny bit more Burnt Umber for warmth and water it down a lot. Apply it carefully using a smaller brush on the lighthouse. Let it be slightly darker towards the top and lighter towards the bottom of the building. Leave some white in between to preserve highlights.
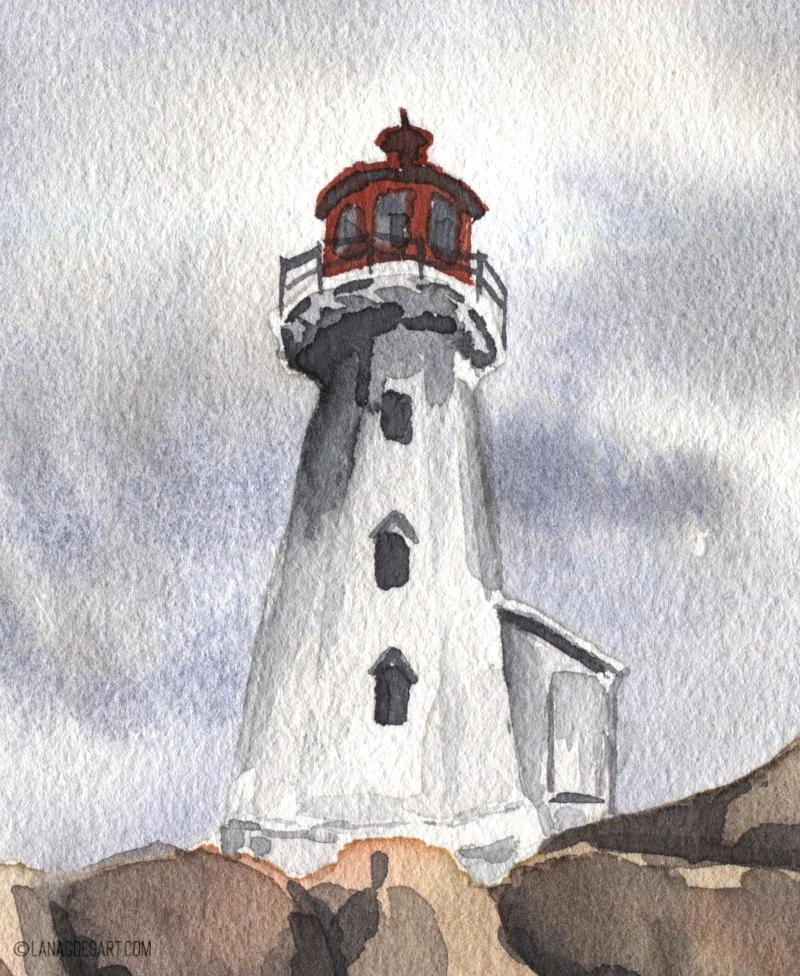
5. Paint the Top of the Lighthouse
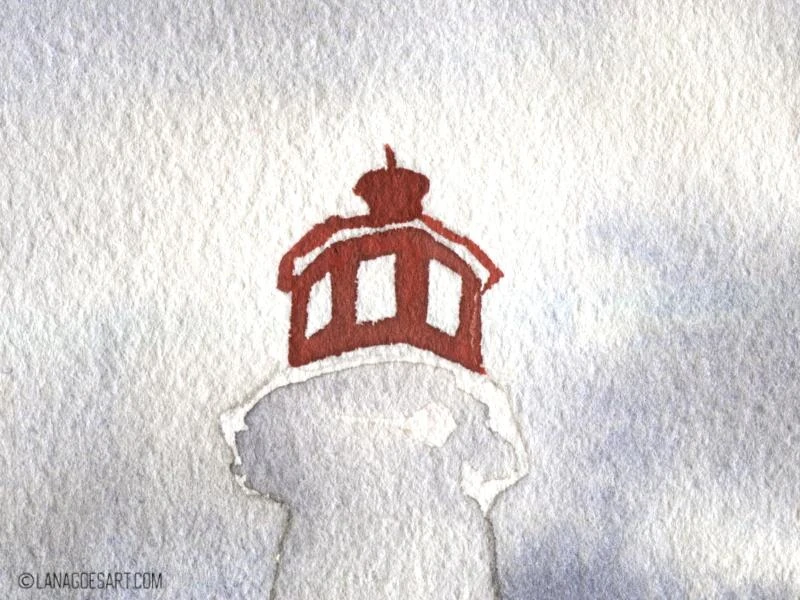
Mix a bright red like Cadmium Red hue with a little of Burnt Umber to tone it down and paint the top of the lighthouse. Leave a little strip and the windows free. Using a smaller brush and the tip only, you can perfectly paint the little areas and thinner lines with no issue. Don’t touch the light area of the lighthouse that might be wet from the previous step.
6. Add a Second Layer to the Rocks
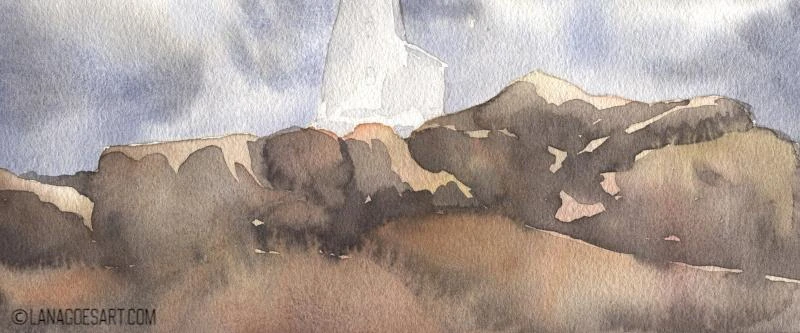
Mix Ultramarine and Burnt Umber to a deep brown and add it to the darkest areas in between the rocks. Drag it out using a clean damp brush into the shadowy areas. You can add a little of a mix of Yellow Ochre and Burnt Sienna to the lower big rocks for a deeper color.
Make sure the lighthouse is dry before going on.
7. Add Shadows to the Lighthouse
By now the lighthouse should be dry. Mix a little more Burnt Umber to your grey mix and add the darkest values and details to the top as shadow. Leave a little gap between it and the red area free to create a clean white border. (Don’t worry if you lost it, you can add it later on using white gouache or a gel pen.)
Spread the grey mix down slightly using a clean damp brush. Enhance especially the borders of the sections. Add some deep shadow to the windows too, don’t forget those in between the red areas and some details on the roof part.
Add shadows to the side house of the lighthouse too. It’s further back and thus a little darker. A little dark line underneath the roof and around the door will separate those nicely.
8. Add Final Details

With a very intense mix of Burnt Umber and Ultramarine paint the areas between the rocks, just the darkest darks to show their separation.
If your lighthouse is now dry too, add some dark shadows under the platform and a little under the little triangles above the windows. A line under the roof of the side entry will help to separate it further. Add also some railing to the platform on top of the lighthouse.
Final Result
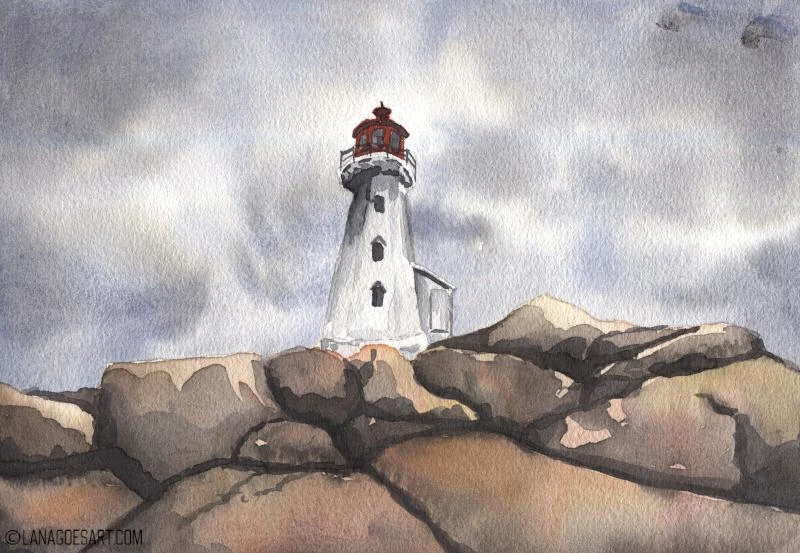
See, it can be super simple to translate a reference into a painting. If you had fun, let me know and tag me if you post your painting. I would love to see it.
You’re also welcome to paint live with me on twitch.tv next time or maybe paint one of the other tutorials!
Have an awesome day!