
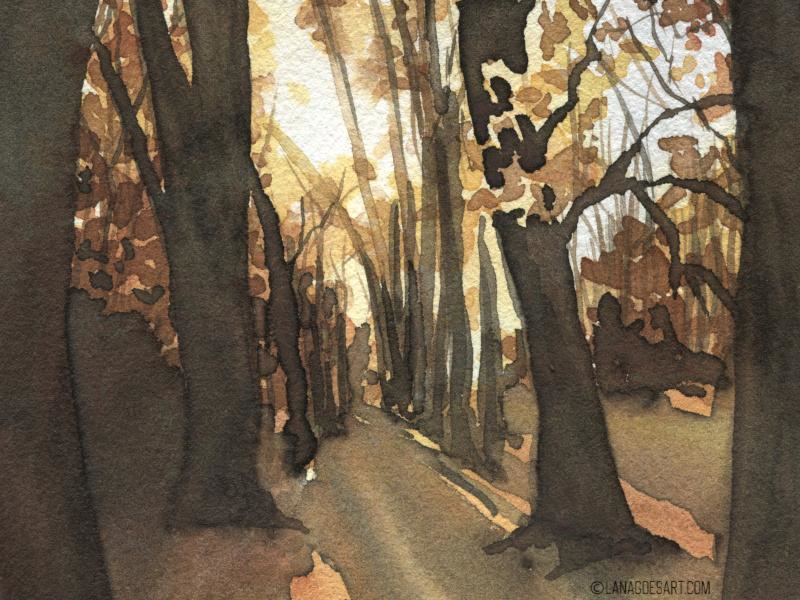
Walks through a sunny autumn forest feel so special and calming this time of year. So take out your brushes and paints and paint one with me today.
Chapters
- The Reference
- The Supplies
- 1. First Wash Wet On Wet
- 2. Set Up the Sunny Leaves
- 3. Deepen the Colors of the Leaves
- 4. Paint a Chaos of Branches
- 5. Paint the Foreground Trees
- 6. Set the Shadows
When painting a sunlit forest in warm colors, it’s necessary to pay attention to the first layers wet in wet and the underpainting in general. So what we will focus on today is building the scene slowly and naturally, just as a forest grows.
The Reference
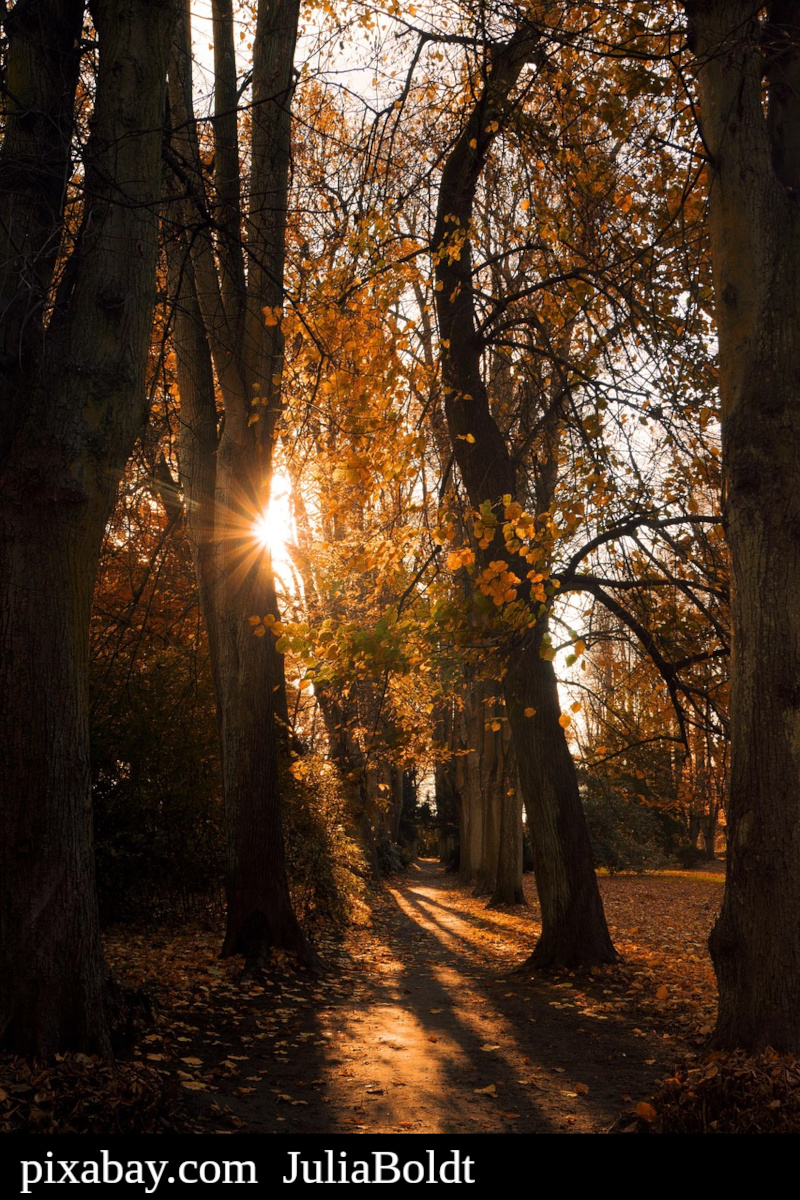
As inspiration for my paintings I like to use a reference. This time it’s this lovely forest photography made by Julia Boldt on pixabay.com. It’s a lovely photo with depth and sunny leaves, which inspired me to try and capture it in a painting.
In the future, if you want to paint something similar, you can use your own photos as references or paint on the go!
The Supplies
- watercolors (I use Schmincke Akademie)
- watercolor paper (I use Centenaire)
- watercolor brusches (I love art brushes)
- pencil and eraser
- white gouache, ink or gel pen
I’m using student quality paints on cotton paper to make sure my results are easy to recreate. Feel free to use whatever you have available to paint along!
If you’re curious about my thoughts on basic watercolor supplies, I got you covered and if you struggle to find the perfect watercolor paper for you, you will find some neat info here on the blog too.
Affiliate links to Amazon were used where possible to help support the site and database. I will receive a small commission when these are used for purchases at no extra cost to you. Thank you!
1. First Wash Wet On Wet
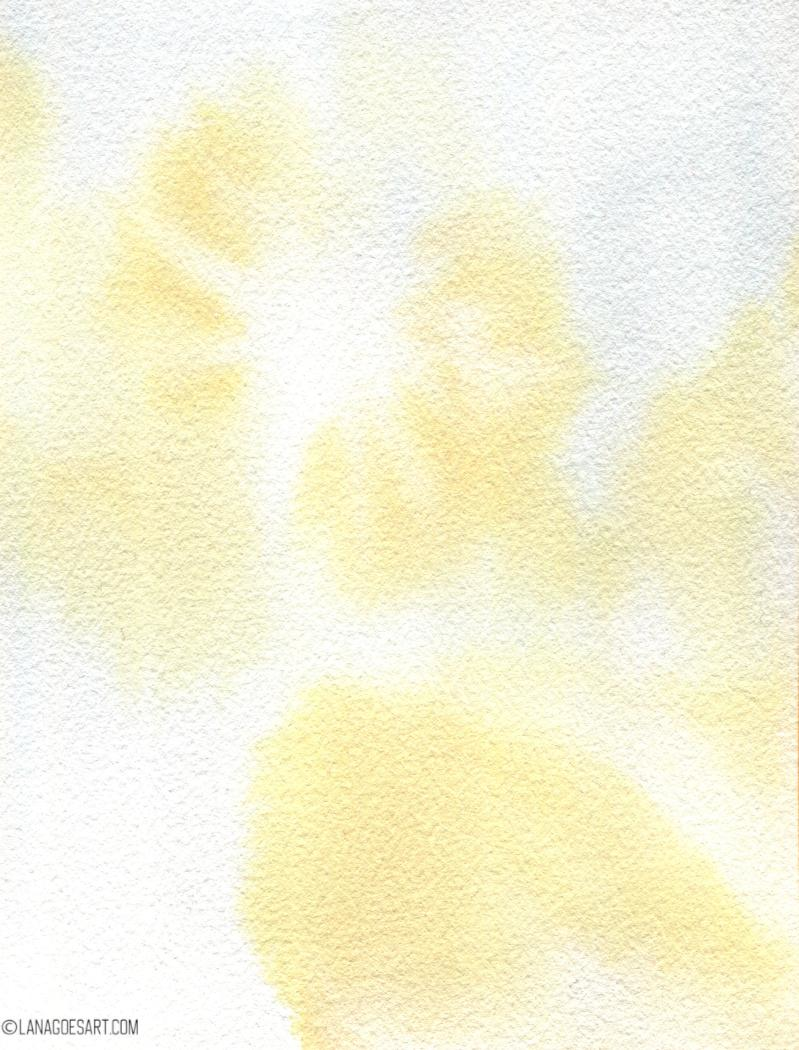
Yes, we will have no sketch for this one and are going in with the first wash directly on paper. Don’t be afraid, it’ll be ok!
Prewet your paper with clean water. Mix a light blue from Phthalo Blue (Cyan) and a little bit of English Red (or burnt Sienna) and apply the watery mixture at the top and especially right area of the painting to create the sky that will shimmer through the leaves.
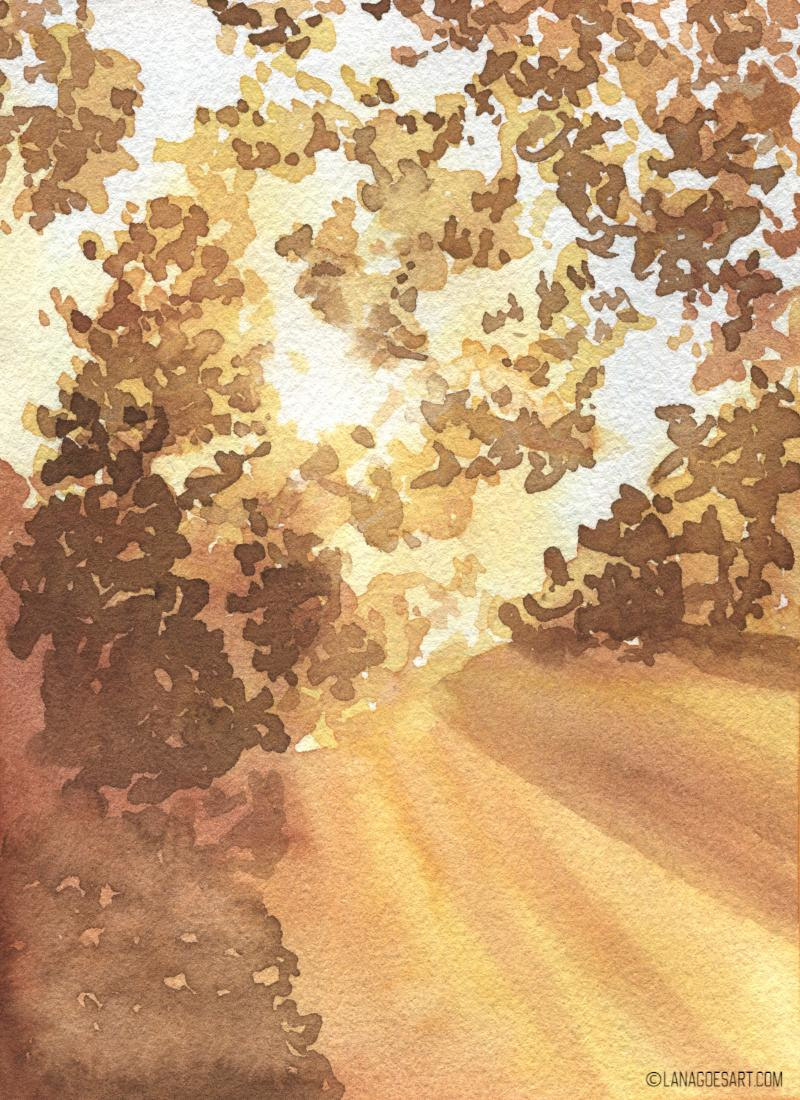
Mix Lemon Yellow and with a tiny bit of English Red to warm up the yellow slightly and apply it where the sunlit leaves will shine though and all the golden areas of the painting.
2. Set Up the Sunny Leaves
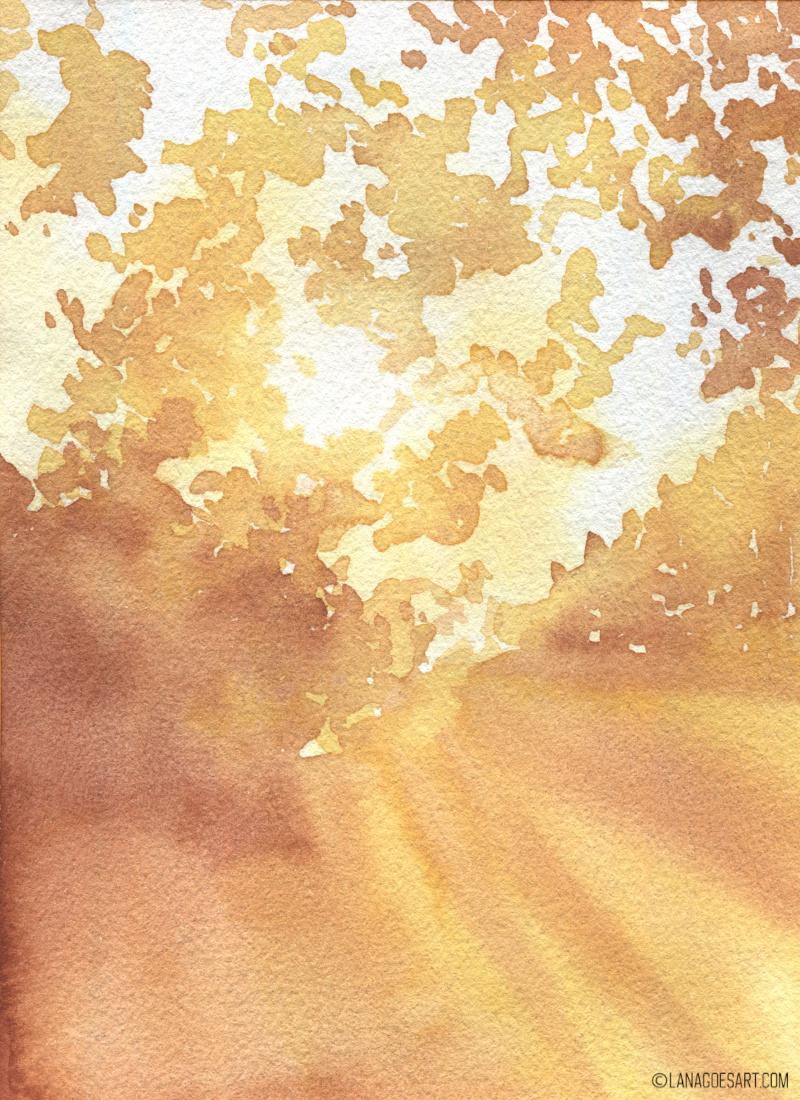
As the leaves shine in so many colors, we will use a few layers to create them. If you watch your paper closely, you can minimize the drying time by painting the areas that are already dry first.
Use the same mix of Lemon Yellow and English Red, but more intense to dab on the leaves. Add some more of the yellow or English Red to create a variation within the leaves you paint. Yellow should be dominant towards the center while English Red should dominate the outer regions. Cover the ground again, intensifying the golden ground and adding “shadows” using English Red.
3. Deepen the Colors of the Leaves
Mix a nice warm earthy brown from Lemon Yellow, English Red and Burnt Umber, as before you can change the mix slightly as you go adding one or two of the colors to vary from yellowish to reddish to brown. Add a second layer of the leaves with some watered down mix in the center and darker around the borders.
Don’t cover up the layers before completely. The amount of paper you cover from step to step should decrease. So some leaves seem to shine golden, while others are red or brown.
4. Paint a Chaos of Branches

I can’t better explain this step really. Mix a bit more burnt Umber to the mix you used previously and paint a lot of random brunches and tree trunks, very thin, in the background. You can paint a very washed out one over the sun, so it looks sunlit and darker ones at the bottom. In the image you can see their placement. But feel free to just paint nice semi straight lines, where trees might go. Some of them will be covered up by the trees in the foreground, but it helps to have some of the branches in the background for a nice and realistic look.
5. Paint the Foreground Trees
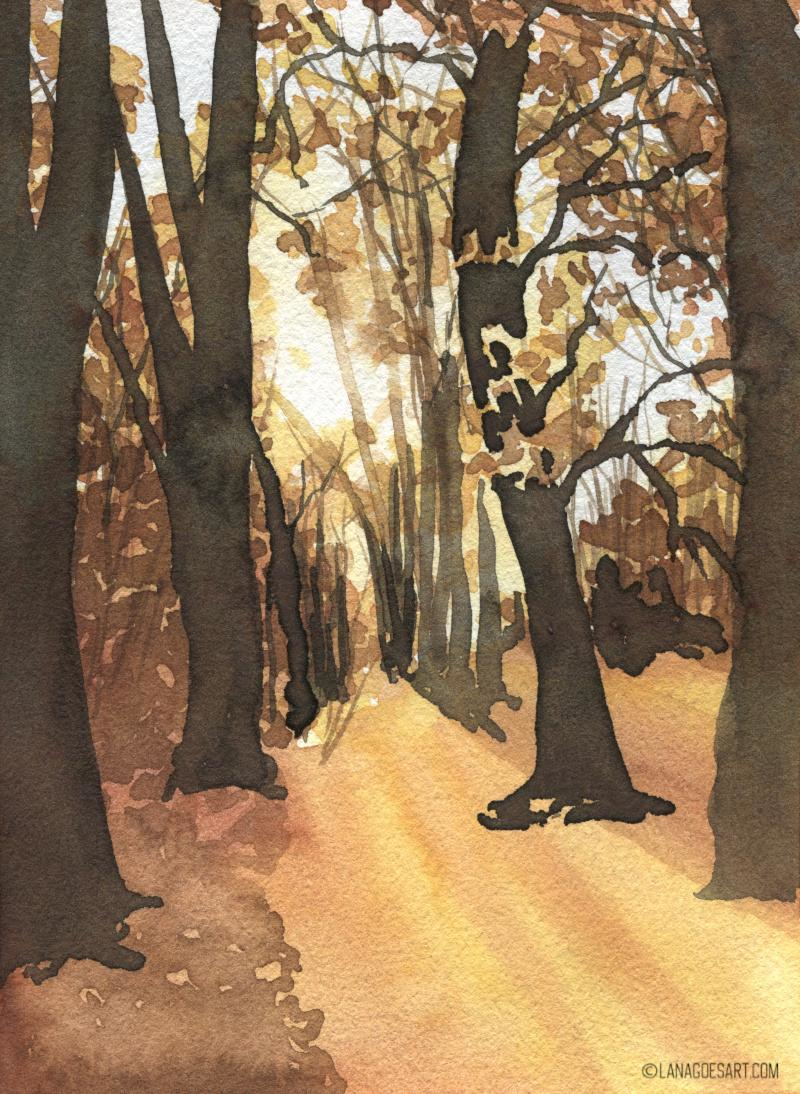
These trees will give the painting some depth and focus too - and create some drama by adding dark values too. This is what makes a painting interesting.
Mix burnt Umber with some Phthalo Blue until you have a deep brown, almost black. Apply it onto the very far away trees first with a smaller brush. Switch to a bigger brush and paint the middle ground and foreground trees. Add some branches too to tie it all together.
6. Set the Shadows
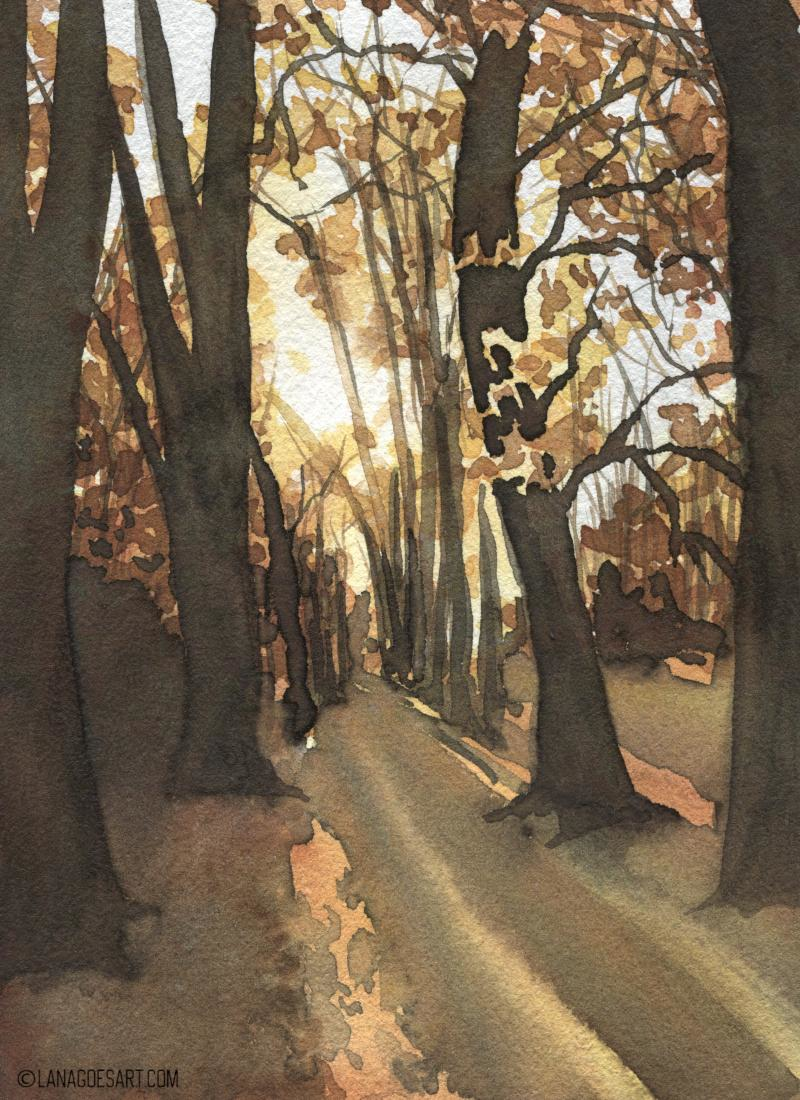
To completely tie the painting together paint the shadows in a mix from burnt Umber and Phthalo Blue. Apply a thicker consistency in the bushes and darkest areas and a lighter one glazing over the ground area. When you cover up too much, which can happen, lift some of the paint with a clean and damp brush.
It’s that simple really to paint a sunny autumn scene layering carefully. If you have time on hand, try it out with different mixes. Using bright yellows and maybe even oranges to give the painting more chroma and brightness. With similar approaches you can also paint a luscious green forest, if you want to. There are no limits.
In case you are looking for more inspirations and watercolor tutorials, I got you covered. As it’s in addition time to paint for winter, I have a tutorial for a cute owl, a simple landscape that fits well on a card or some christmas ornaments for you.
Feel free to share your results on discord, Mastodon or Bluesky.
Have a creative day!
Lana