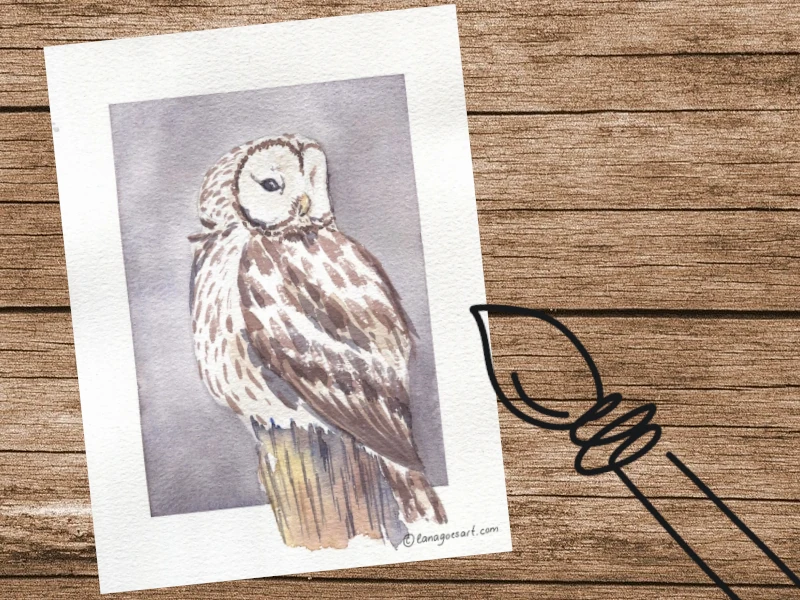
Whether you are a beginner or already further along on your watercolor journey. Maybe you want to dive into this tiny tutorial with me and paint the winterly owl. You don’t need much to paint along as the focus is on mixing colors and experience painting with a limited palette. What you’ll receive is a harmonious painting which just fits the current weather.

List of Materials
- A5 Centenaire Watercolor Paper (100% cotton) – as it’s only available in Germany, feel free to use the paper that is available to you.
- Graphite Pencil
- Eraser
- Washi Tape or Masking Tape
- Schmincke Akademie Watercolors: Ultramarine, Light Ochre and English Red (Amazon | Jacksons)
- Brushes: Da Vinci Casaneo Quill size 0 and Princeton Velvetouch size 2 (Amazon | Jacksons)
The materials are only a suggestion. Feel free to use the supplies that you already own to follow along first!
Affiliate links used where possible to support the blog and YouTube channel. Thank you!
Video Tutorial
Painting Tutorial
Before you start drawing, please prepare your paper and tape the borders of a rectangle in the center of your paper. You will draw inside said rectangle. Taping will help to achieve straight lines and a clear border.
In case you don’t have washi tape or masking tape on hand, please feel free to draw a rectangle and paint within it.
1. Draw Your Owl
Draw the owl using your pencil. Start with basic shapes for orientation, bevor you add more and more details.

After you got the basic shapes down, add the details, the eyes, the beak and the stump that the owl sits on. It’s ok if your lines are light to not interfere with your painting or a little wobbly.
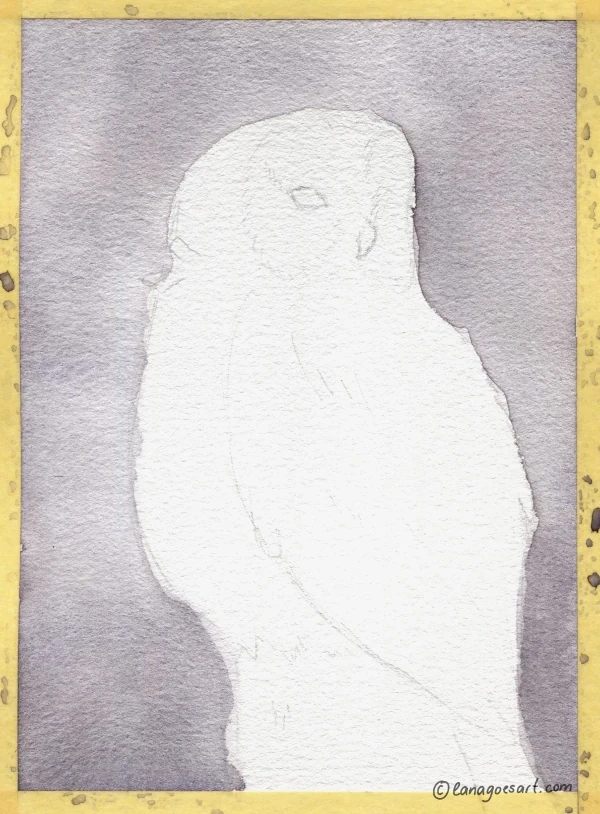
This is how your owl should look on paper:

2. The Background
Mix some English Red and Ultramarine until you receive a purplish grey. You can mix on your palette or a flat plate. Just make sure to not use it for food after.
As brown is a neutral color you will receive a grey or black by mixing it with a warm blue as Ultramarine. As both colors, that we used today, granulate, you will receive a great effect of them separating slightly on the paper.
Mische Englischrot und Ultramarin bis eine gräuliche Farbe entsteht. Dies kannst du auf der Palette oder einem flachen Teller tun. Braun ist bereits eine neutrale Farbe, mischst du dazu ein warmes Blau wie Ultramarin, erhältst du eine graue bis schwarze Farbe. Da beide Farben granulieren, trennen sie sich etwas auf Papier und ergeben einen ganz tollen Effekt.
Wet your paper with clean water and a clean brush and add the grey color you just mixed to the area.
If you want your sky to be less cloudy, you can use Ultramarine on its own. Make sure to not paint it too dark though, so it won’t overpower the owl.
With some variation of lighter and darker areas in the background you give the painting some dynamic.
In case you feel you went too dark with the background, you can always fix it by adding more water or dabbing away some of the paint using a paper towel.
The last option will also help to remove puddles if there happen to be some before drying.
Let the background dry for a few minutes before you continue.
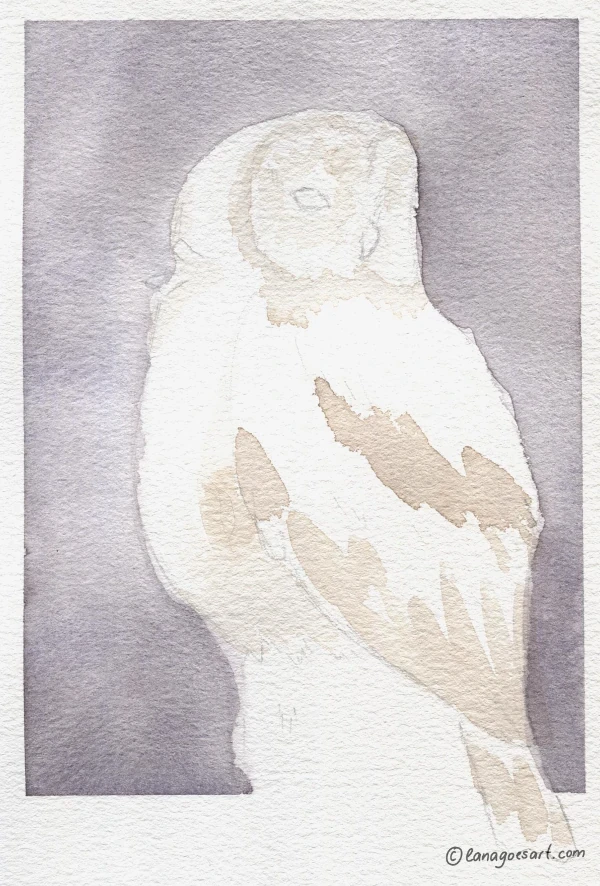
3. Base Layer of the Feathers
To give the white feathers a little bit more depth, use some Light Ochre and a tiny bit of the grey you mixed earlier. It tones down the ochre and creates a nice subtle color.
With short little lines paint a “wreath” around the eye. Dab with the same color and the smaller brush around the eye circles. Define with a few loose lines some feathers on the wing, the tummy and the tail of the owl.
4. Add the Middle Tones
Add a little more English Red to the color you have mixed earlier. It will change the mix and create a slightly darker, reddish brown.
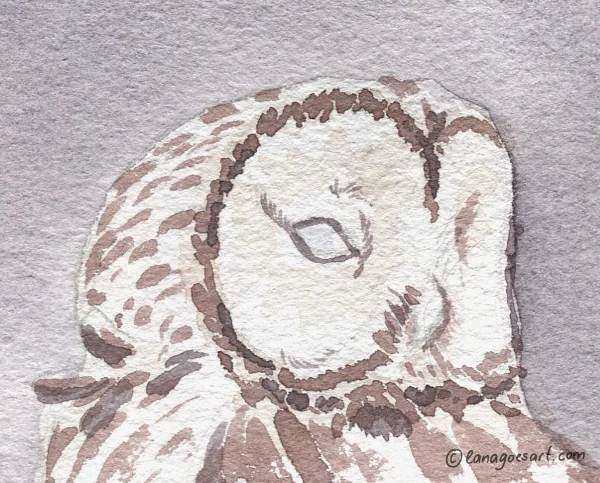
Define some of the feathers using your new mix. Dab the color using the small brush around the eye circles and paint small feathers on the head and belly going all in one direction as you see in the picture.
To make the lines slightly thicker for the wing, you can lightly press down on your brush. Add a little of the color to the chin and around the beak too to hint at shadows in this area. Do the same around the eyes.
If you want you can give a tiny bit of very thinned down Ultramarine on the eye to create slightly more depth in the following steps.

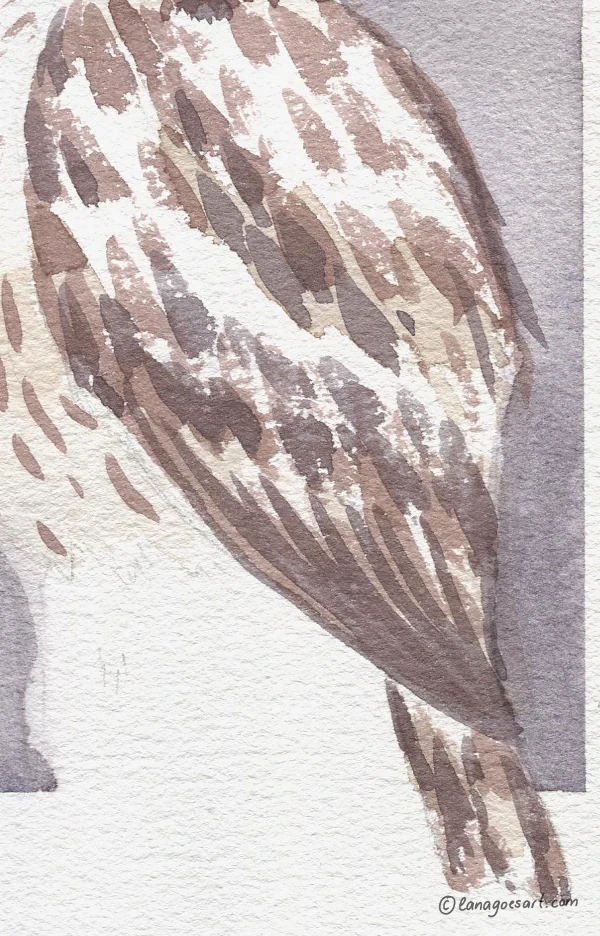
5. Add Details to the Feathers
The darker brown for this step is easily mixed using Ultramarine and some English Red. Make sure to not use too much water as it will make the color lighter than you need it to be.
Paint around the eye and add little details around the beak as well as dots/dabbing around the eye circles. The multiple layers will look detailed in the finished piece and give the painting some depth.
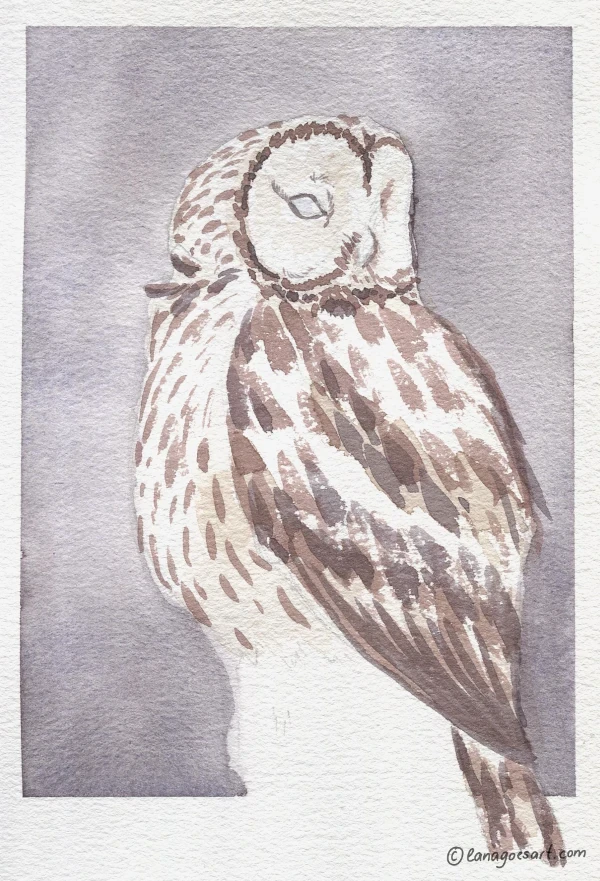
6. Last Details
Mix a very dark grey/black using Ultramarine and English red and almost no water. Paint the eye using your new mix but leave a little white area for the reflection.This will make your owl look alive and more detailed.
Use some ochre from the pan for the beak. You can dab a tiny bit of English Red in the wet paint just on the top of the beak for some variation.

To paint the stomp load the brush with Light Ochre and paint with it the left side of the stump. Take some English Red with the brush and paint the area right next to it. The wet colors will flow into each other and mix on the paper.
Now add Ultramarine and paint the top and the right side of the stomp.
Let the paint dry a little.
With some Ultramarine you can add some vertical lines to make it appear like tree bark.

You did an amazing job! I’m very curious about your owl, so let me know in the comments about your painting or tag me on Instagram @lanagoesart.
Have a wonderful and creative day!
Lana


Neueste Kommentare